This tutorial builds on the previous „MiniPC passive cooling – T-Bao MN35 and derivatives„.
All steps to use an alternative cooler are described there.
The previous tutorial is available in german and englisch.
What is needed:
- Of course the corresponding MiniPC with the described conversion
- as cooler I use a Noctua NH-L9a-AM4 (black)
- thermal glue (in my case Silverbead, Thermal Glue))
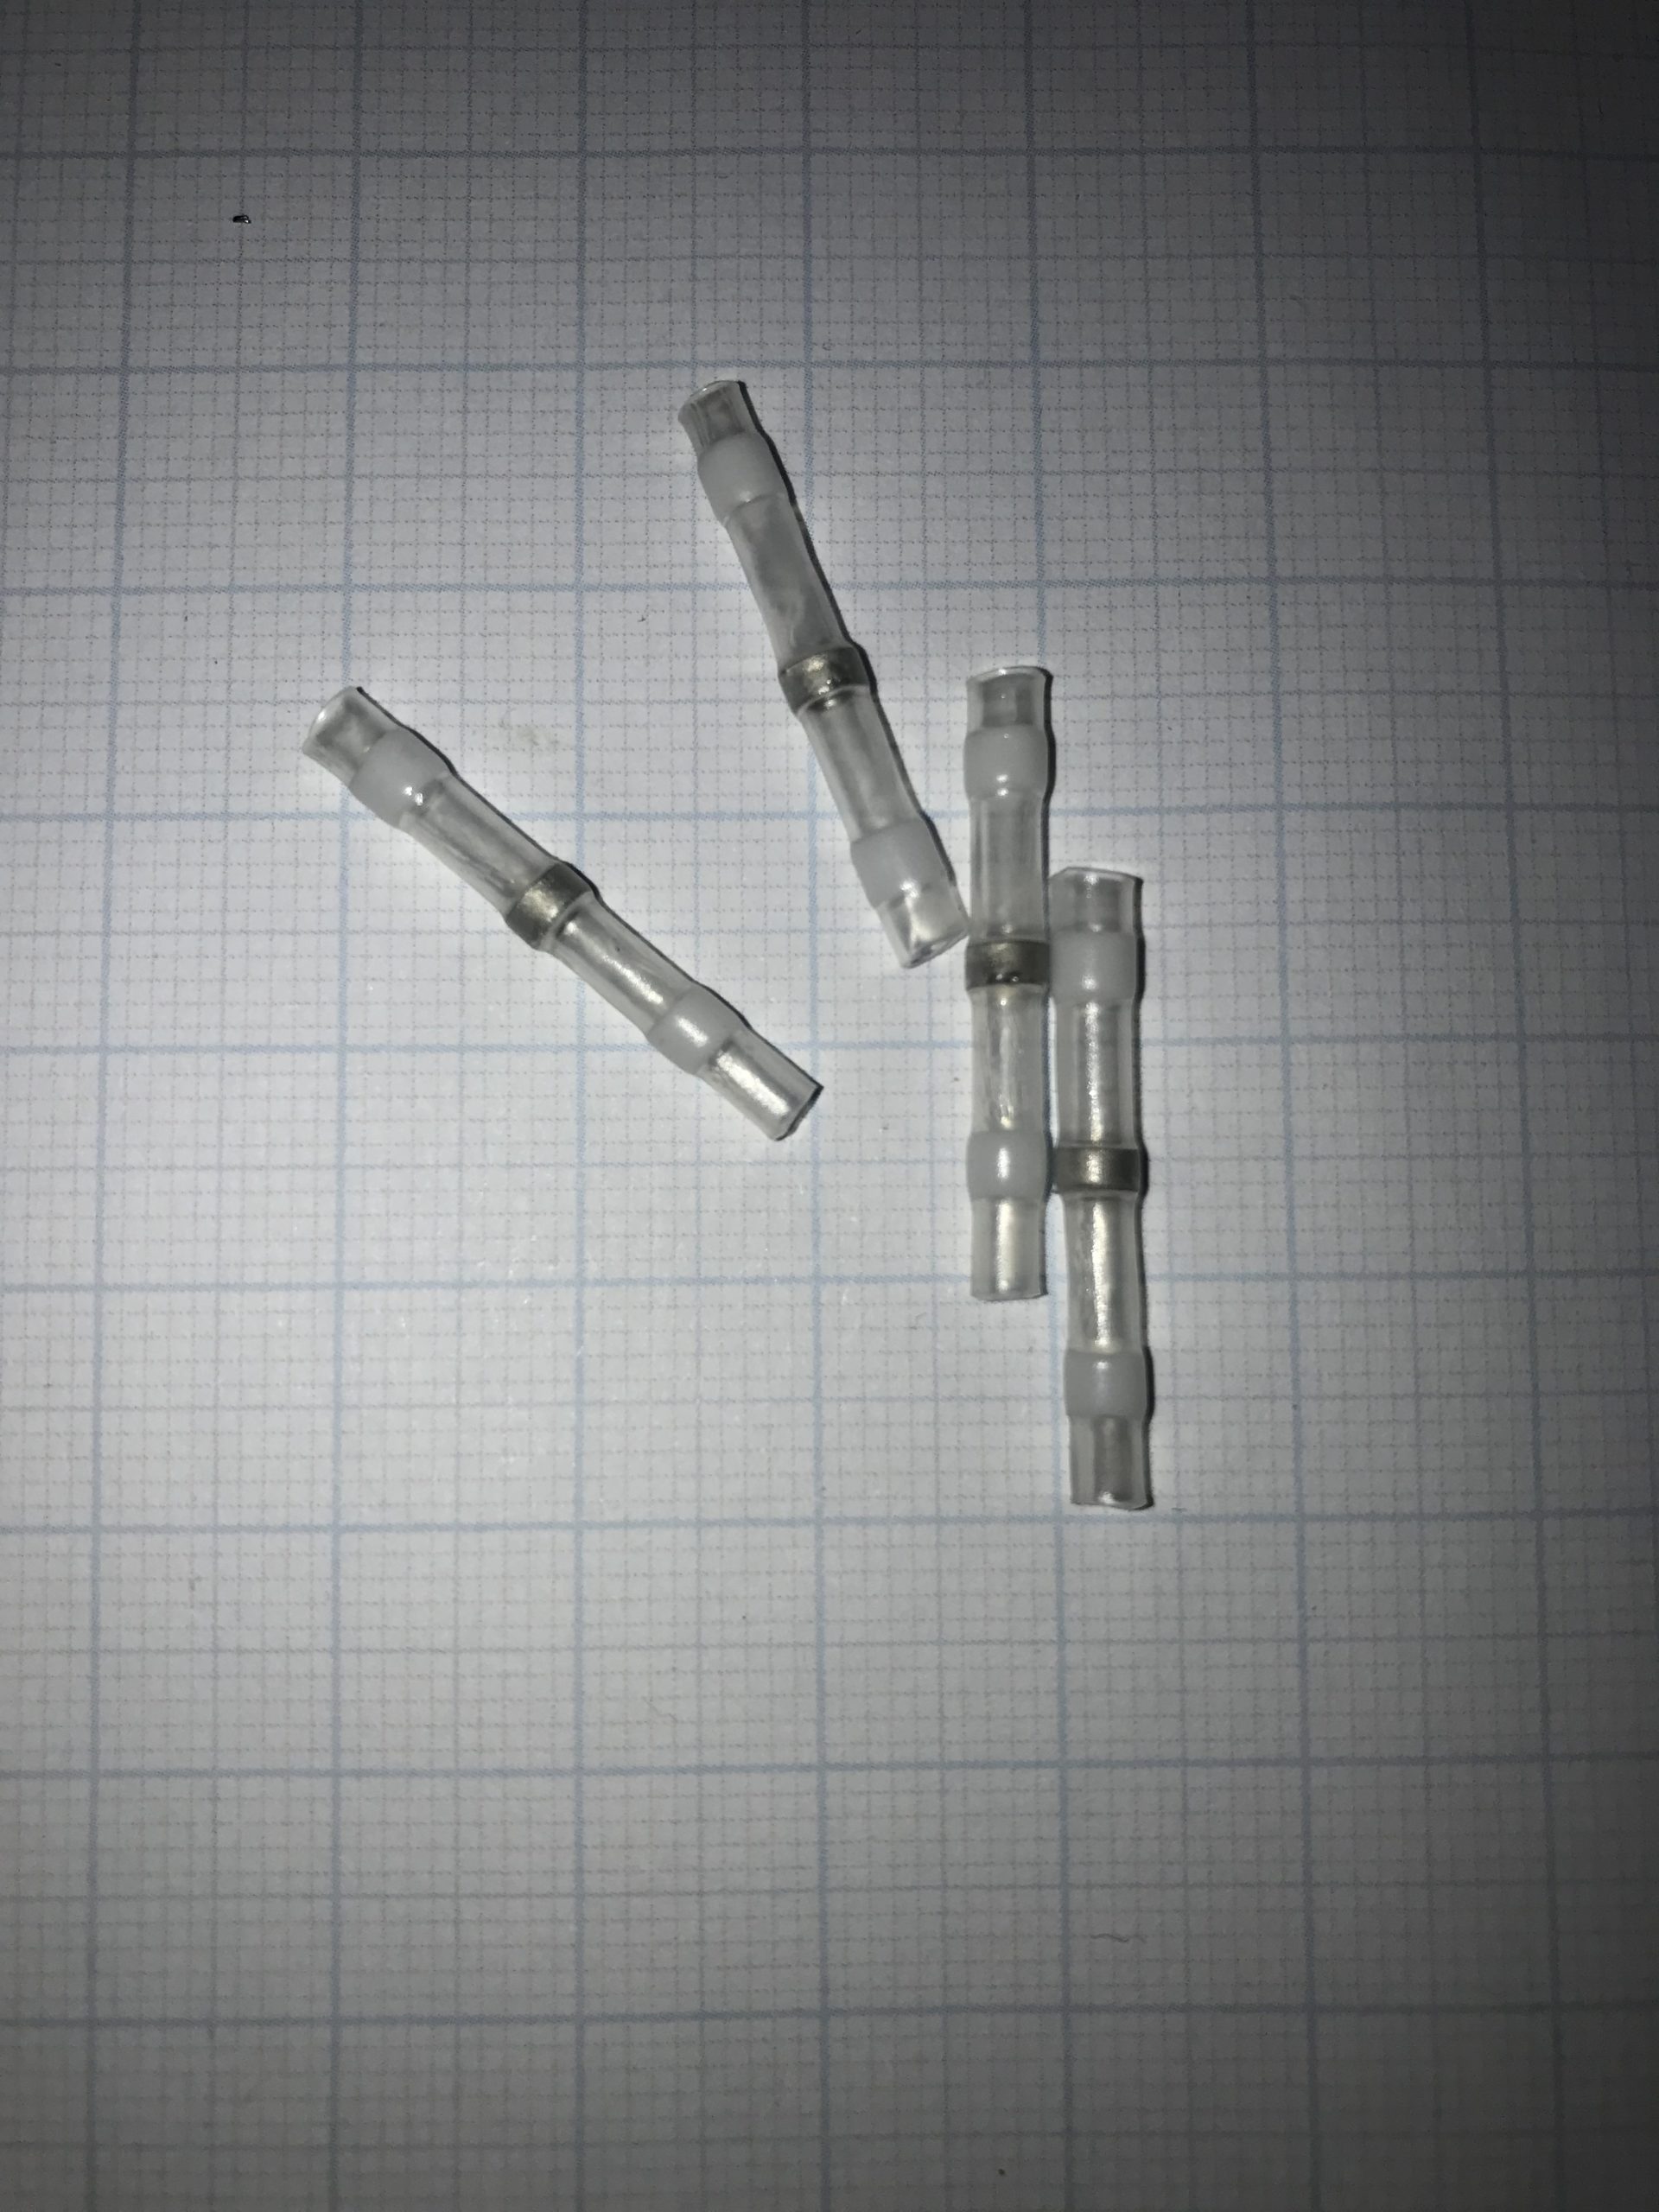
- soldering connector, alternatively a soldering iron
- heat shrink tubing
- hot air dryer or mini gas burner/lighter
Work steps:
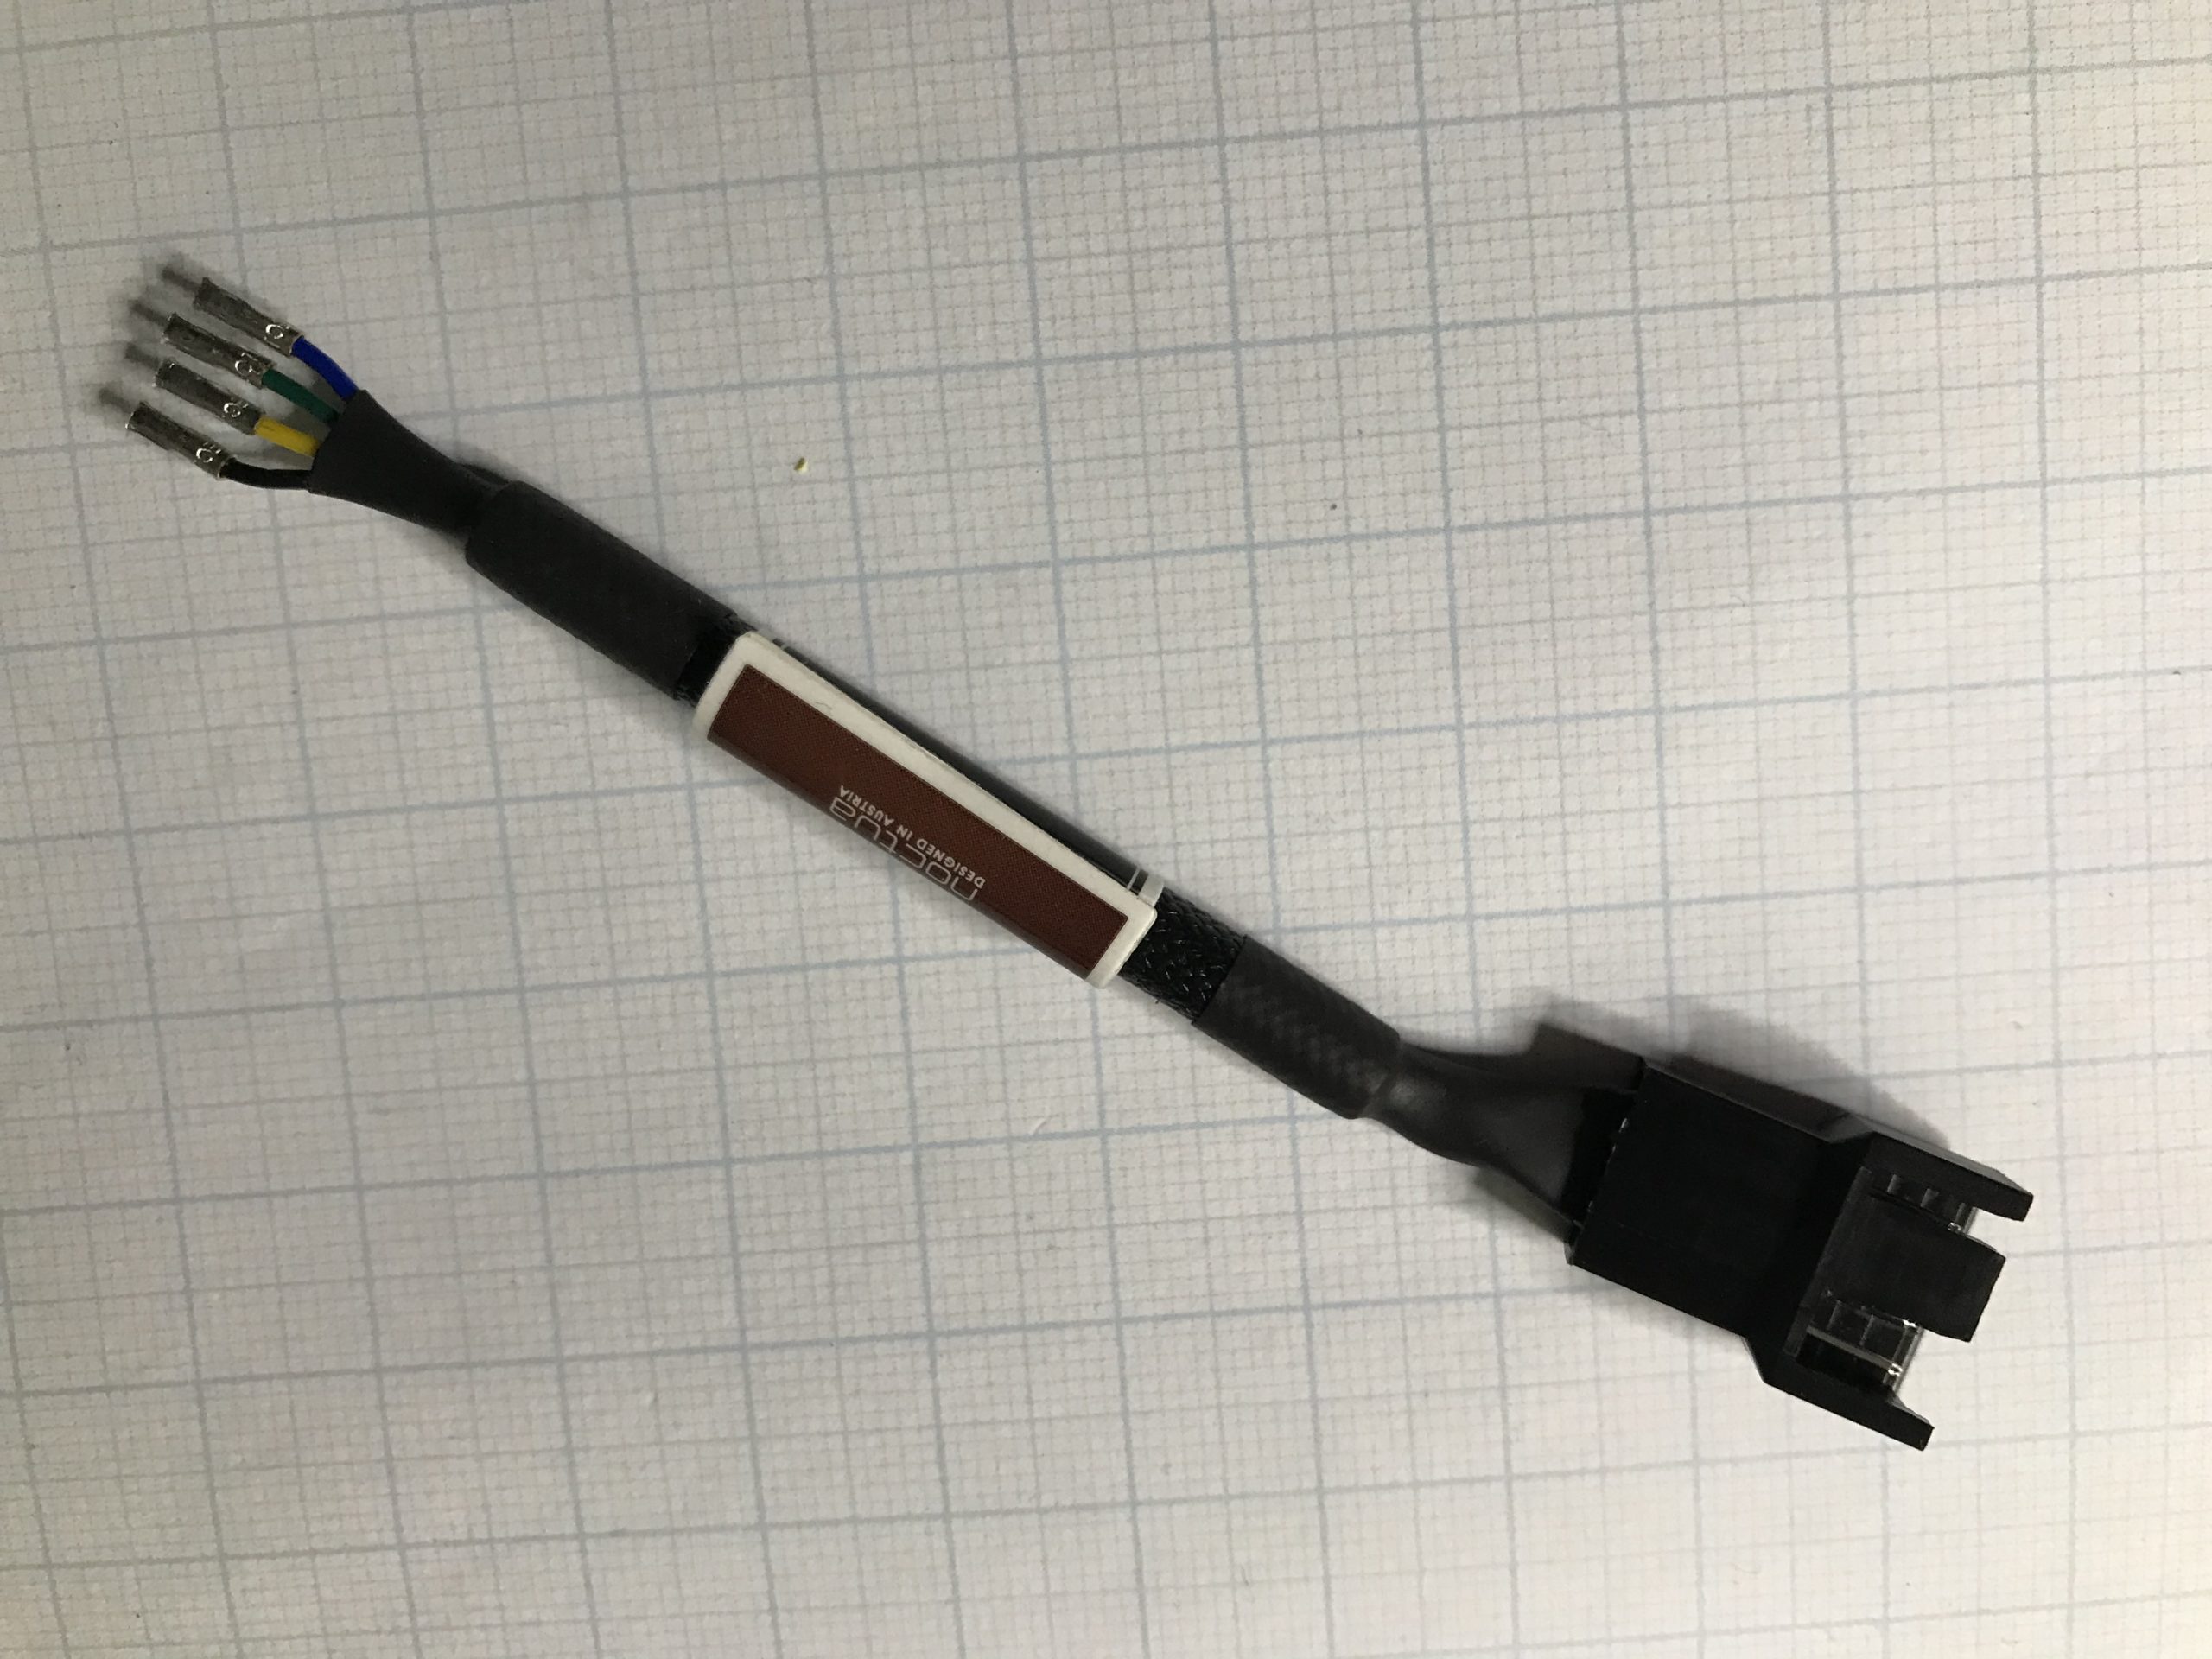
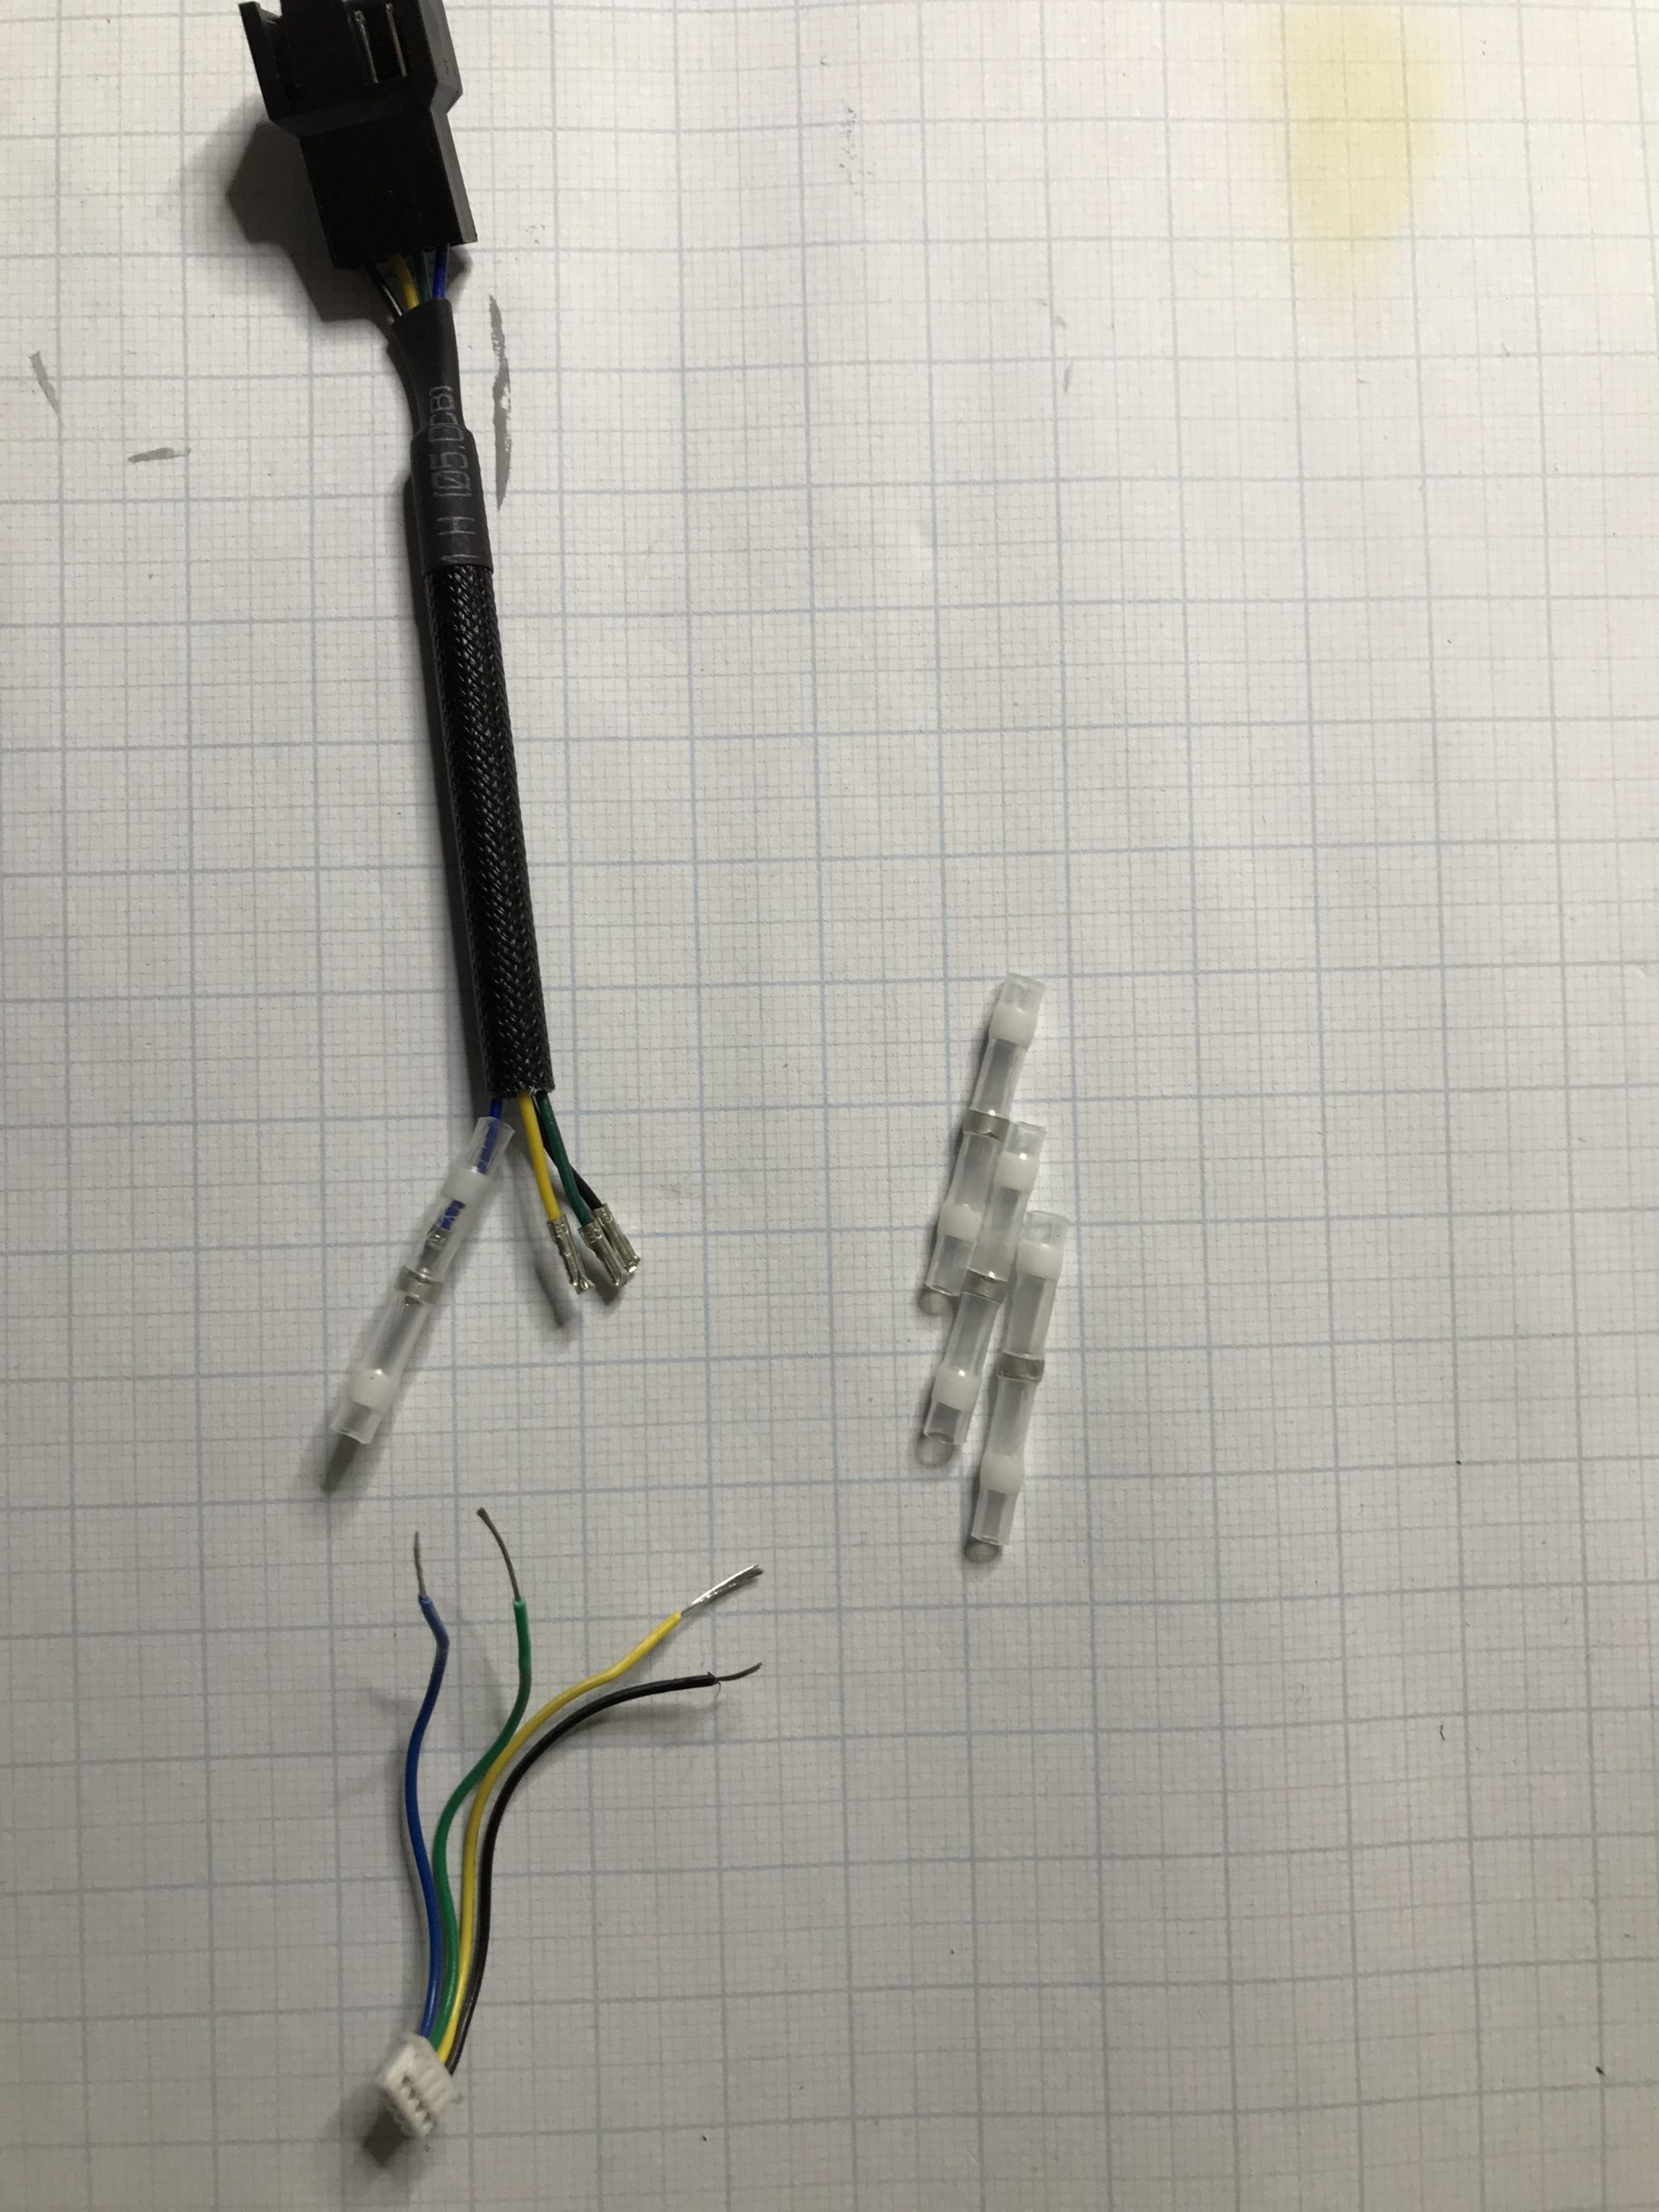
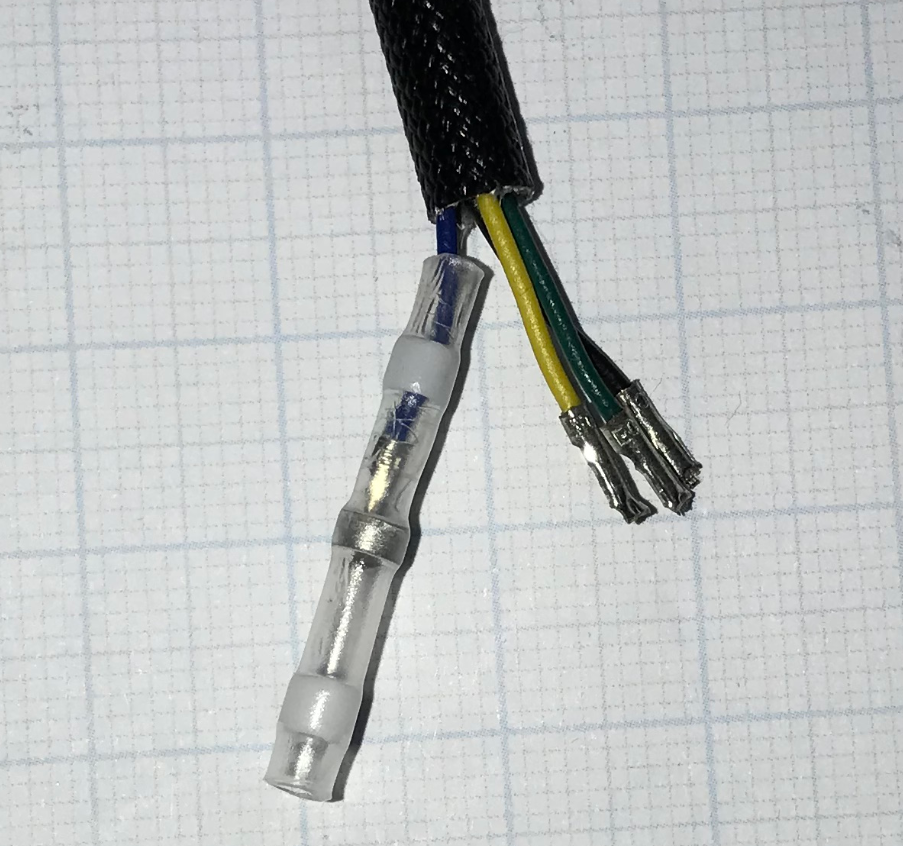
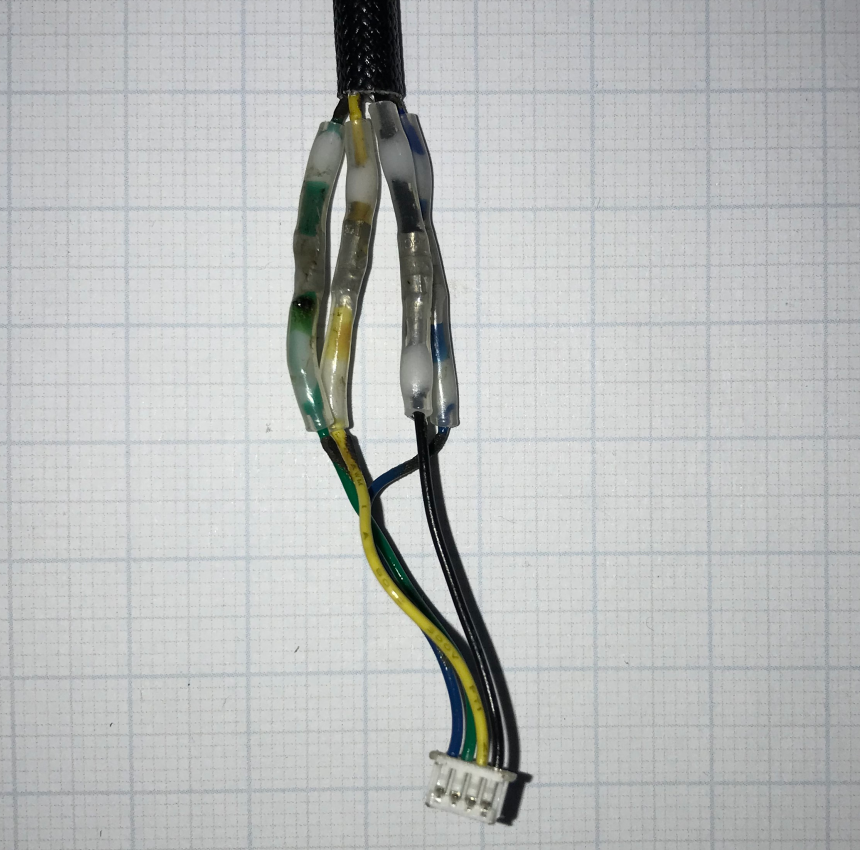
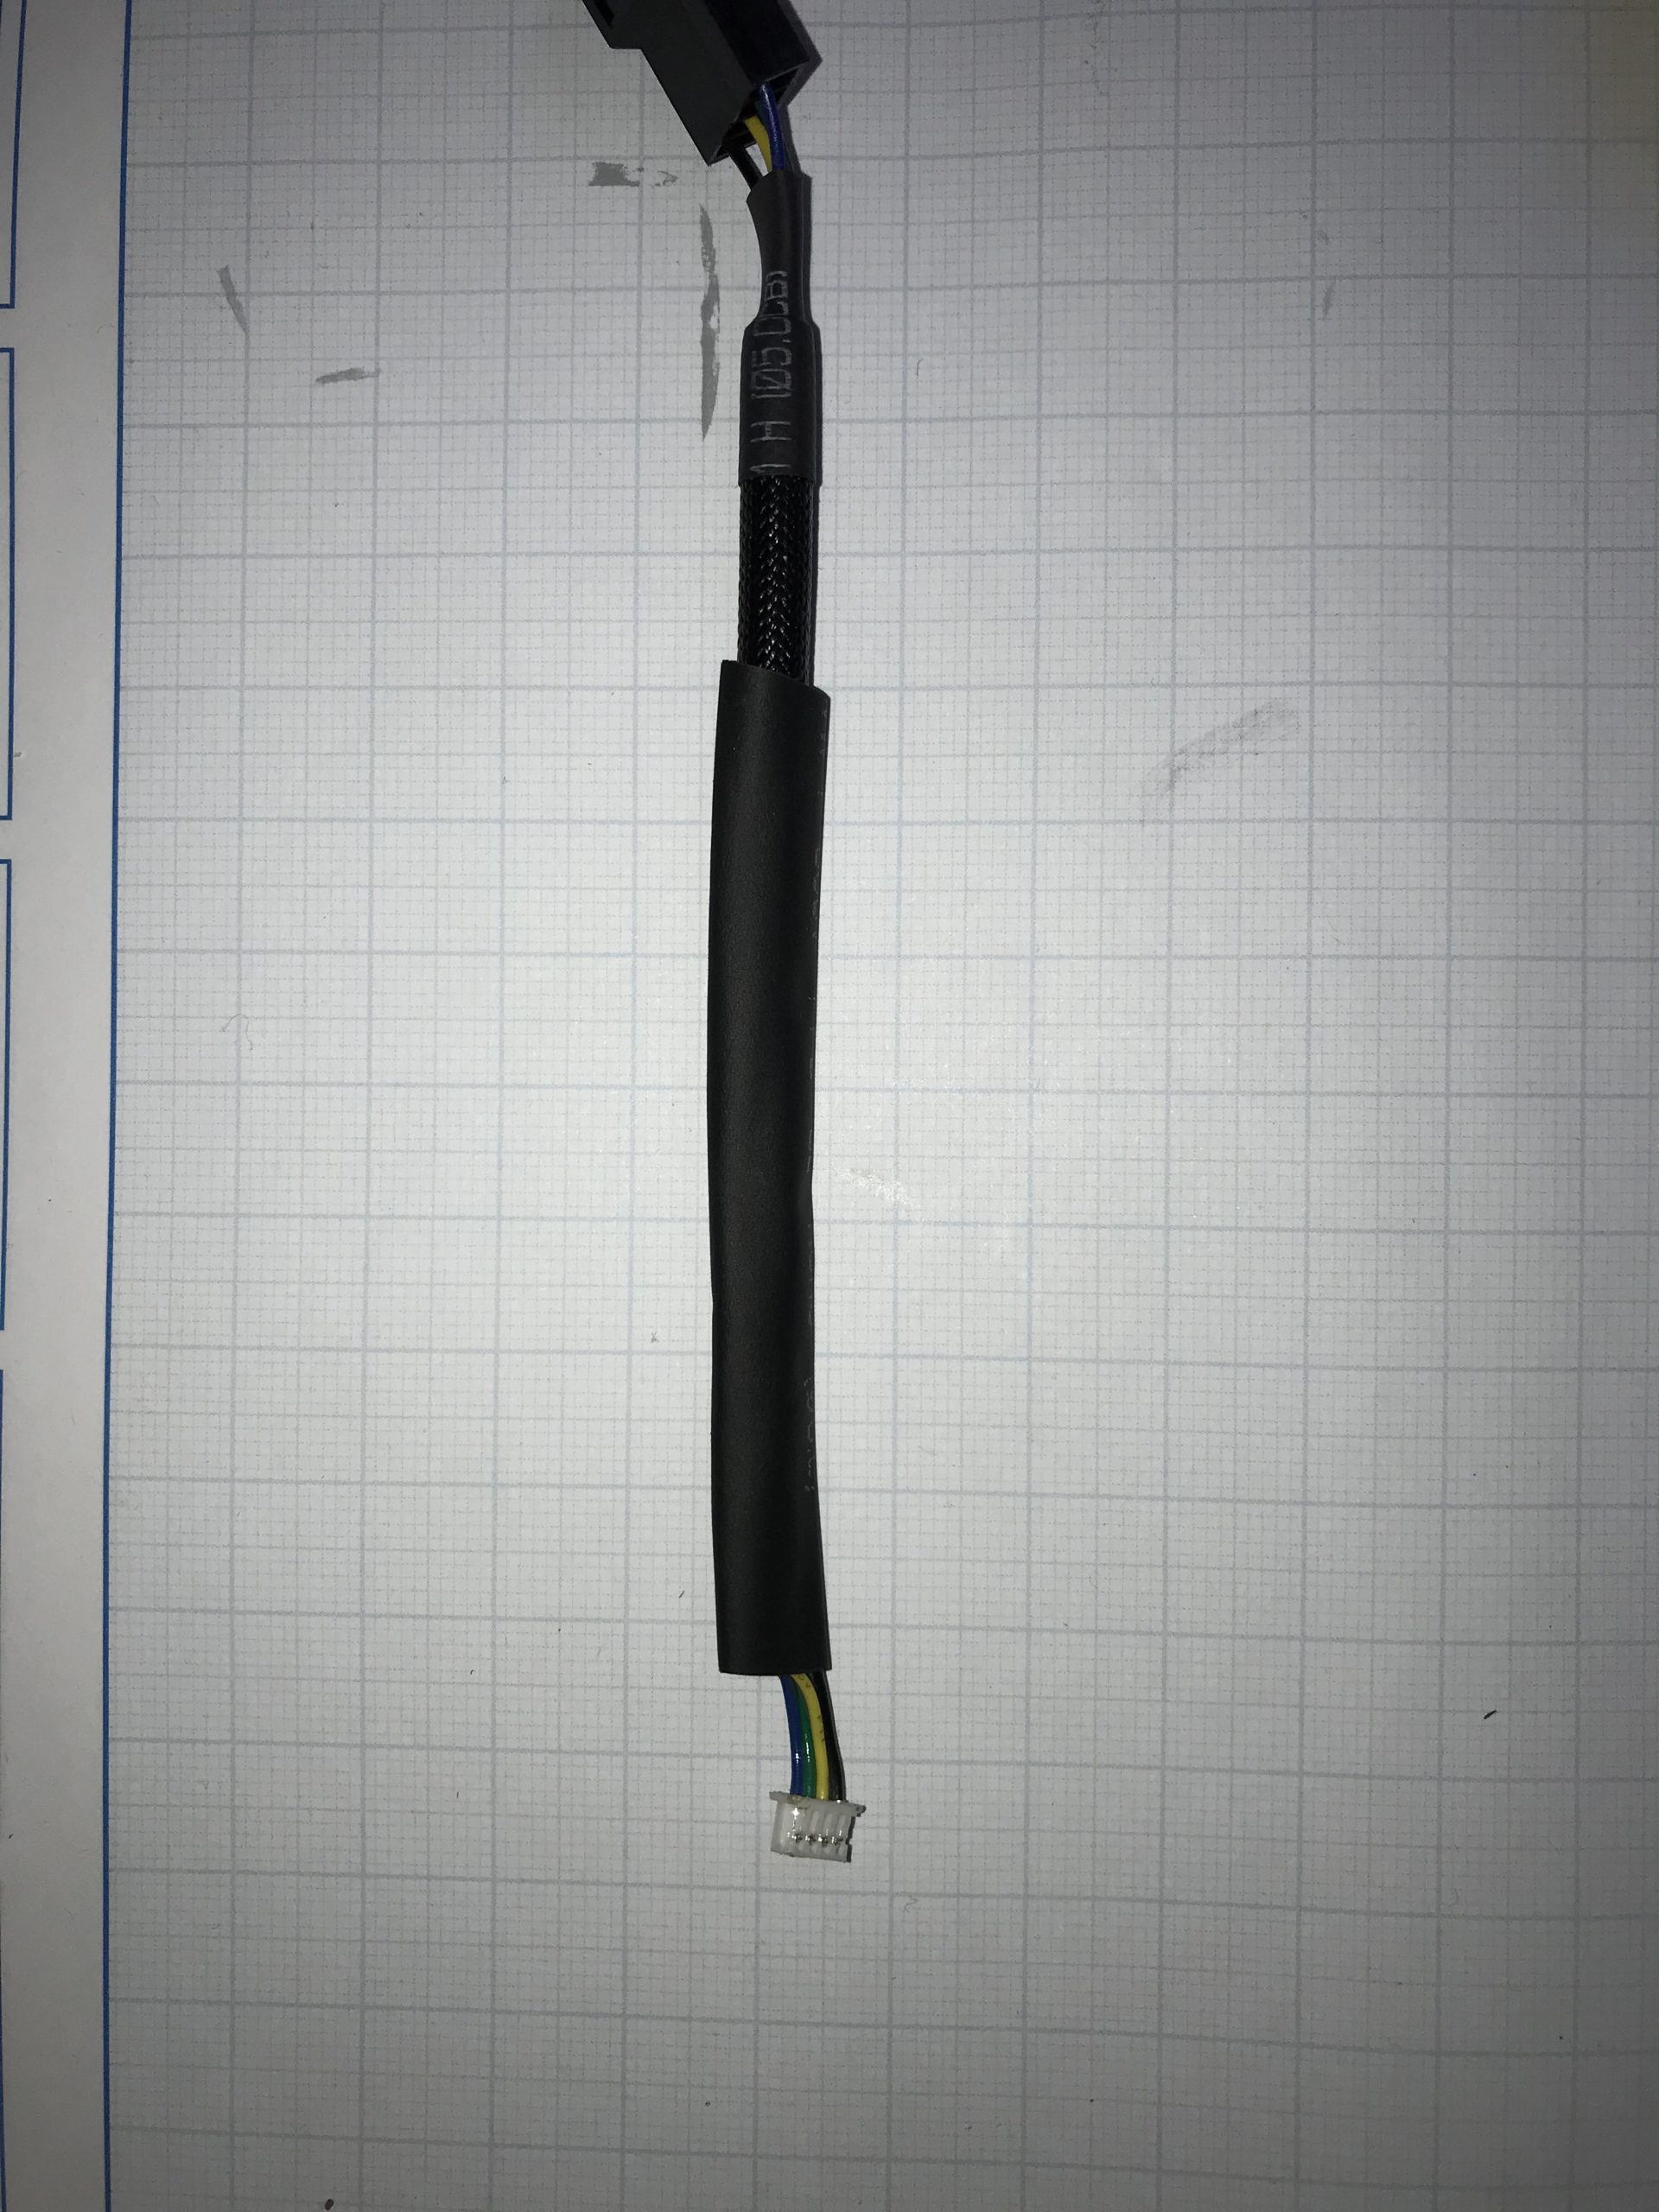
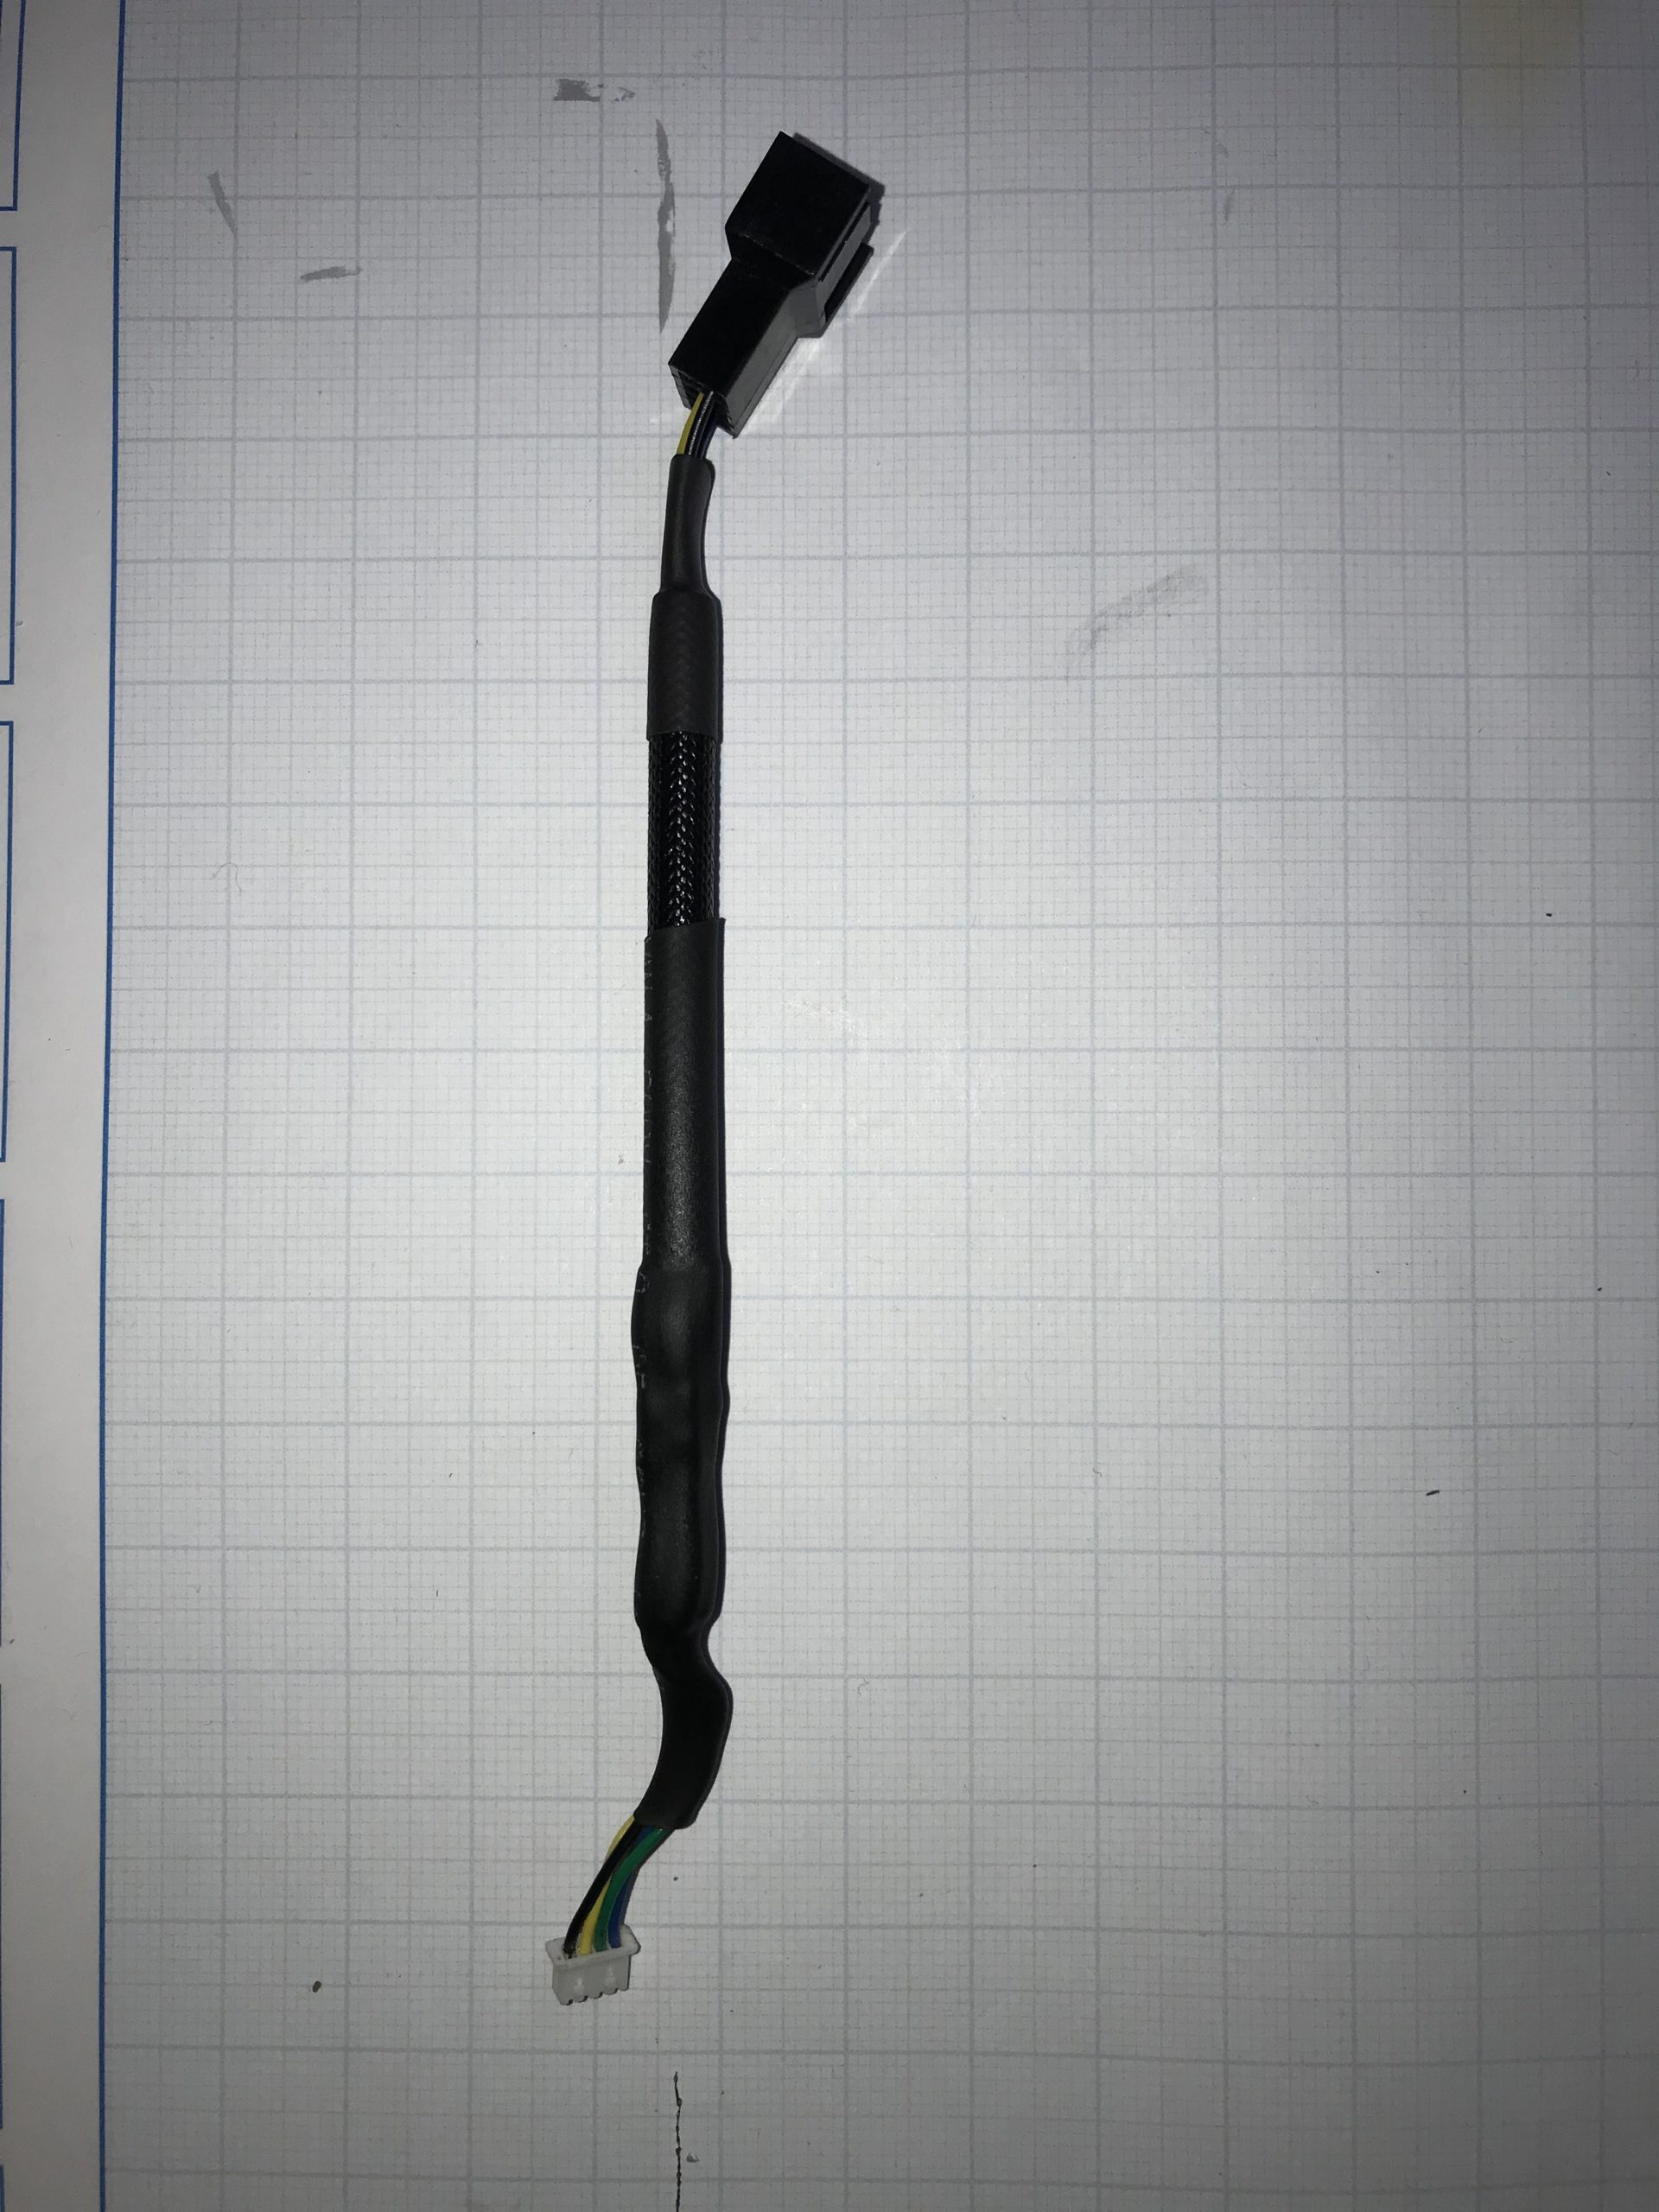
The Noctua comes with a choke cable, which is provided with a resistor to regulate the fan down. There we cut the connector (picture), so that we can use the exposed contacts directly. The MiniPC fan we cut off the socket about half the length of the cable. The whole thing is now connected 1 to 1, either with solder connectors or the contacts are soldered directly, depending on your preference. The insulated, soldered cables get a heat shrink tube, so the whole thing holds better and of course looks nicer.
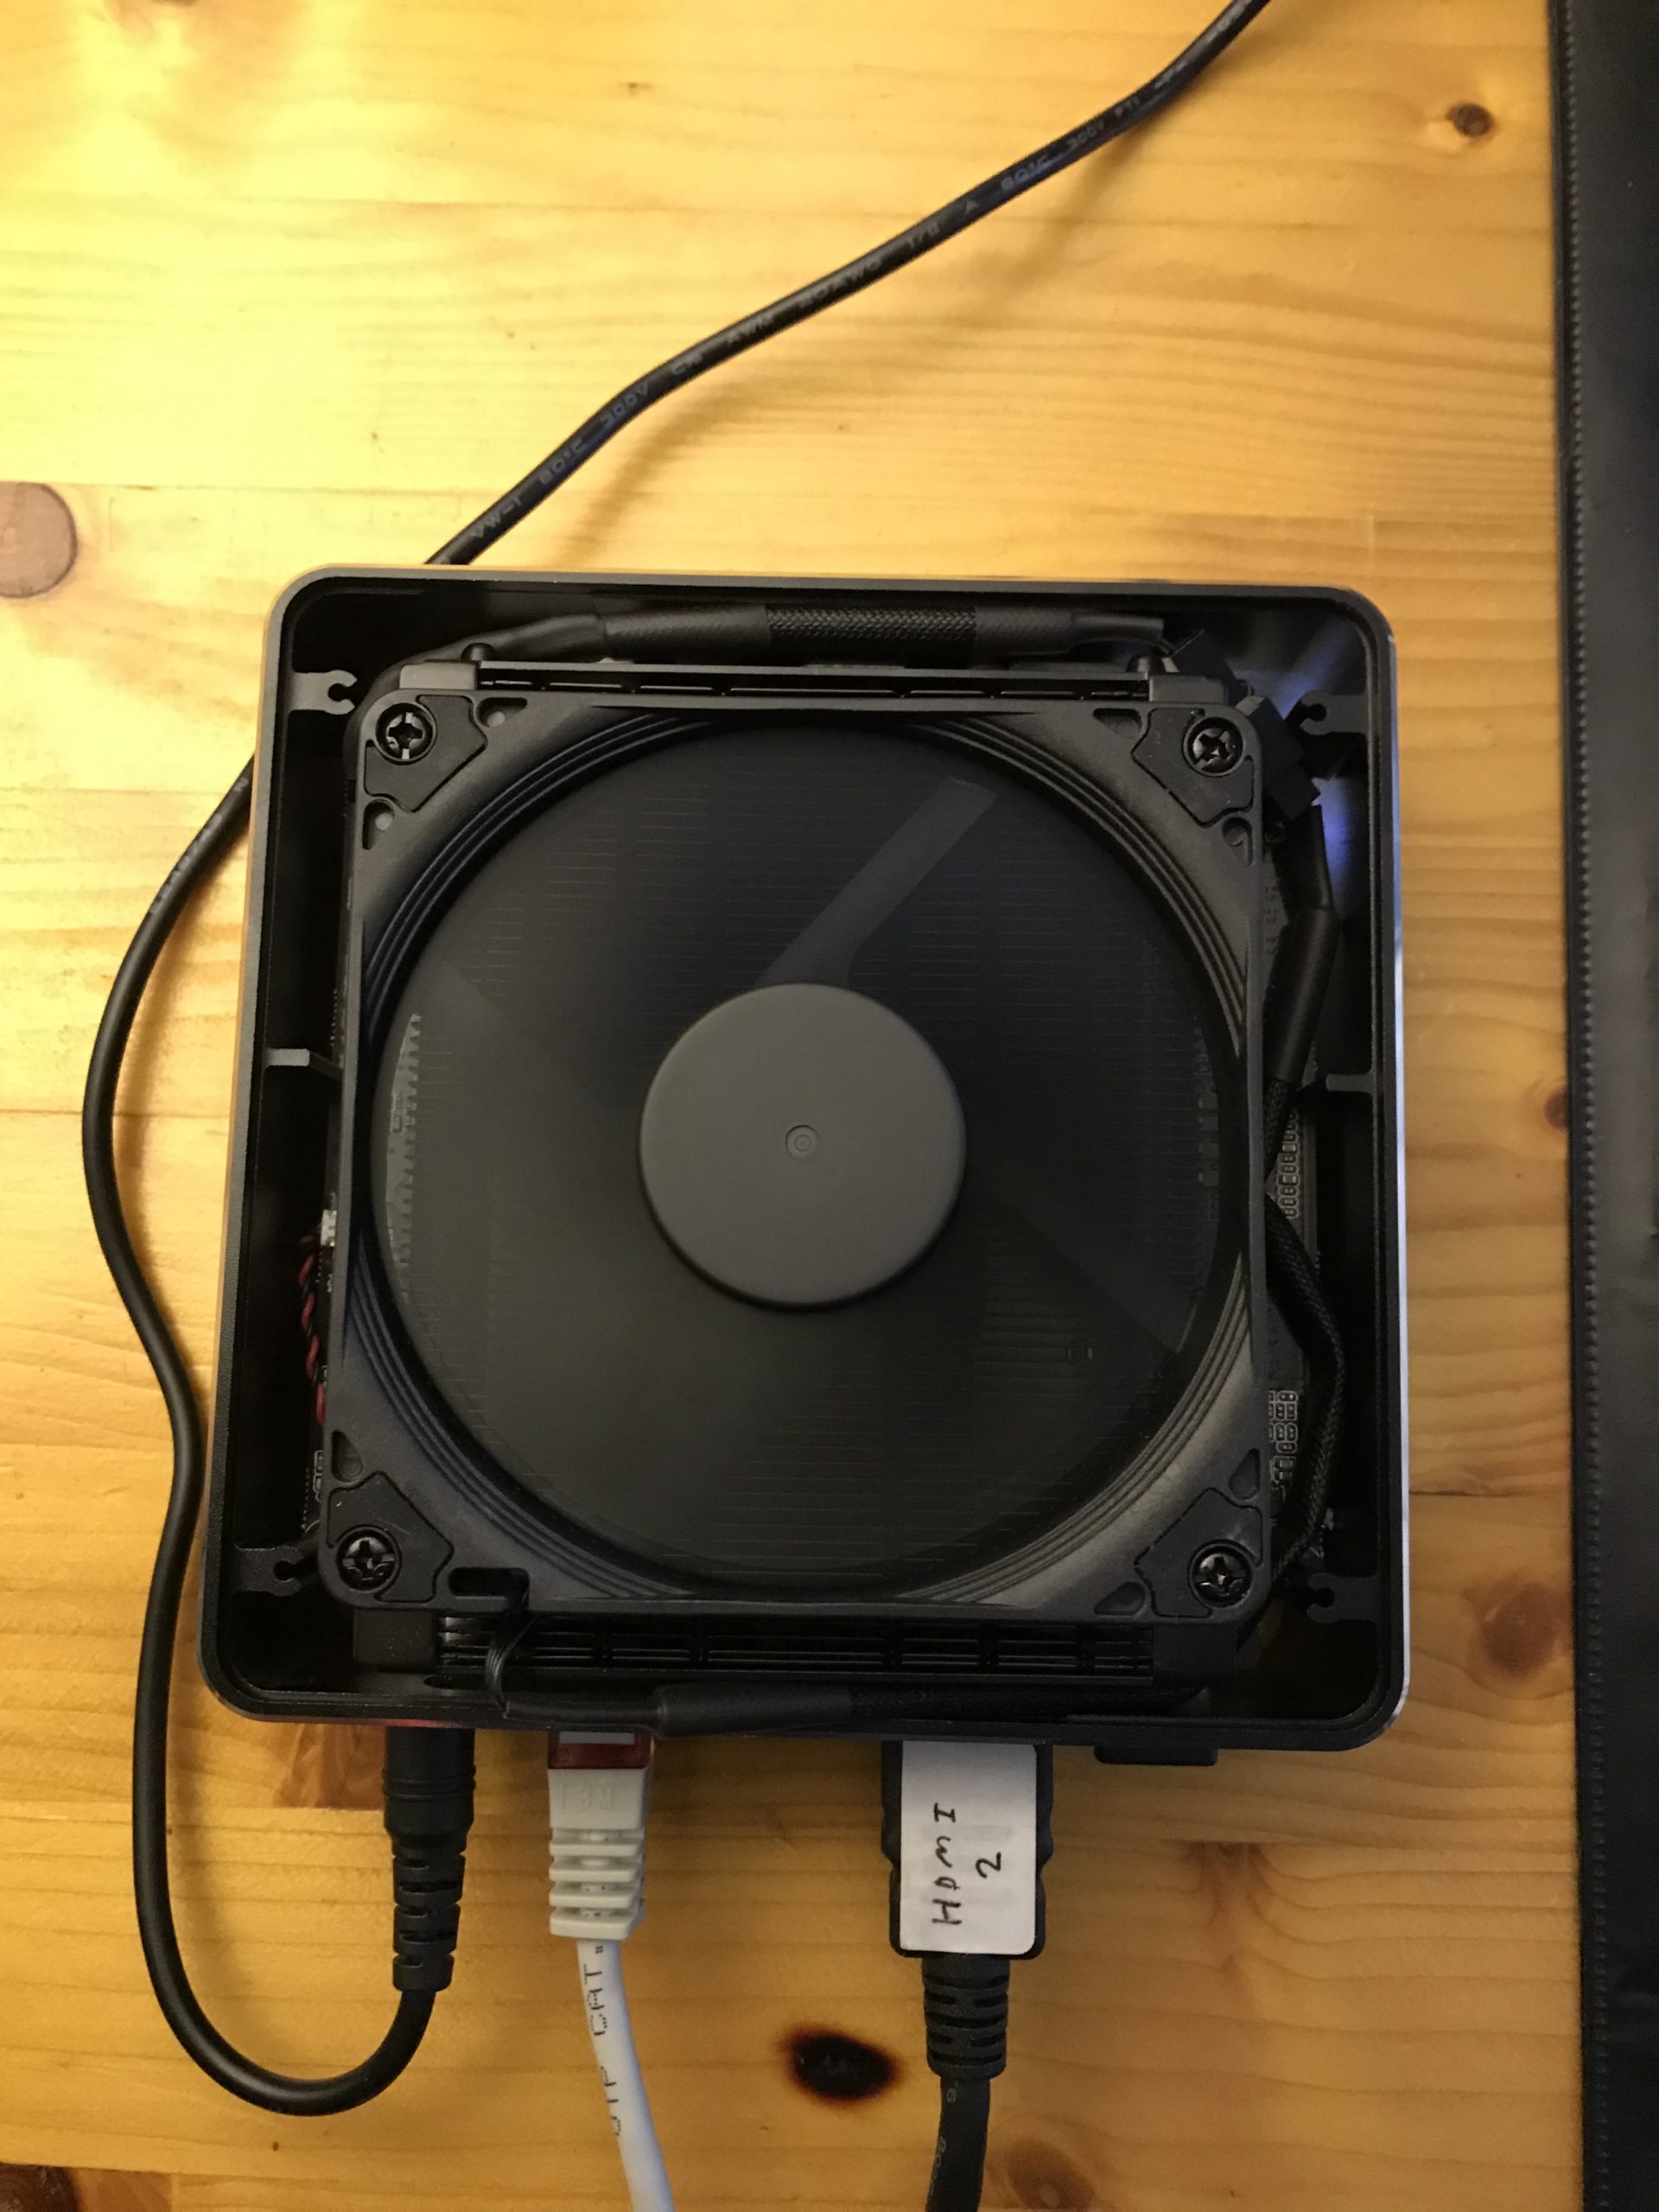
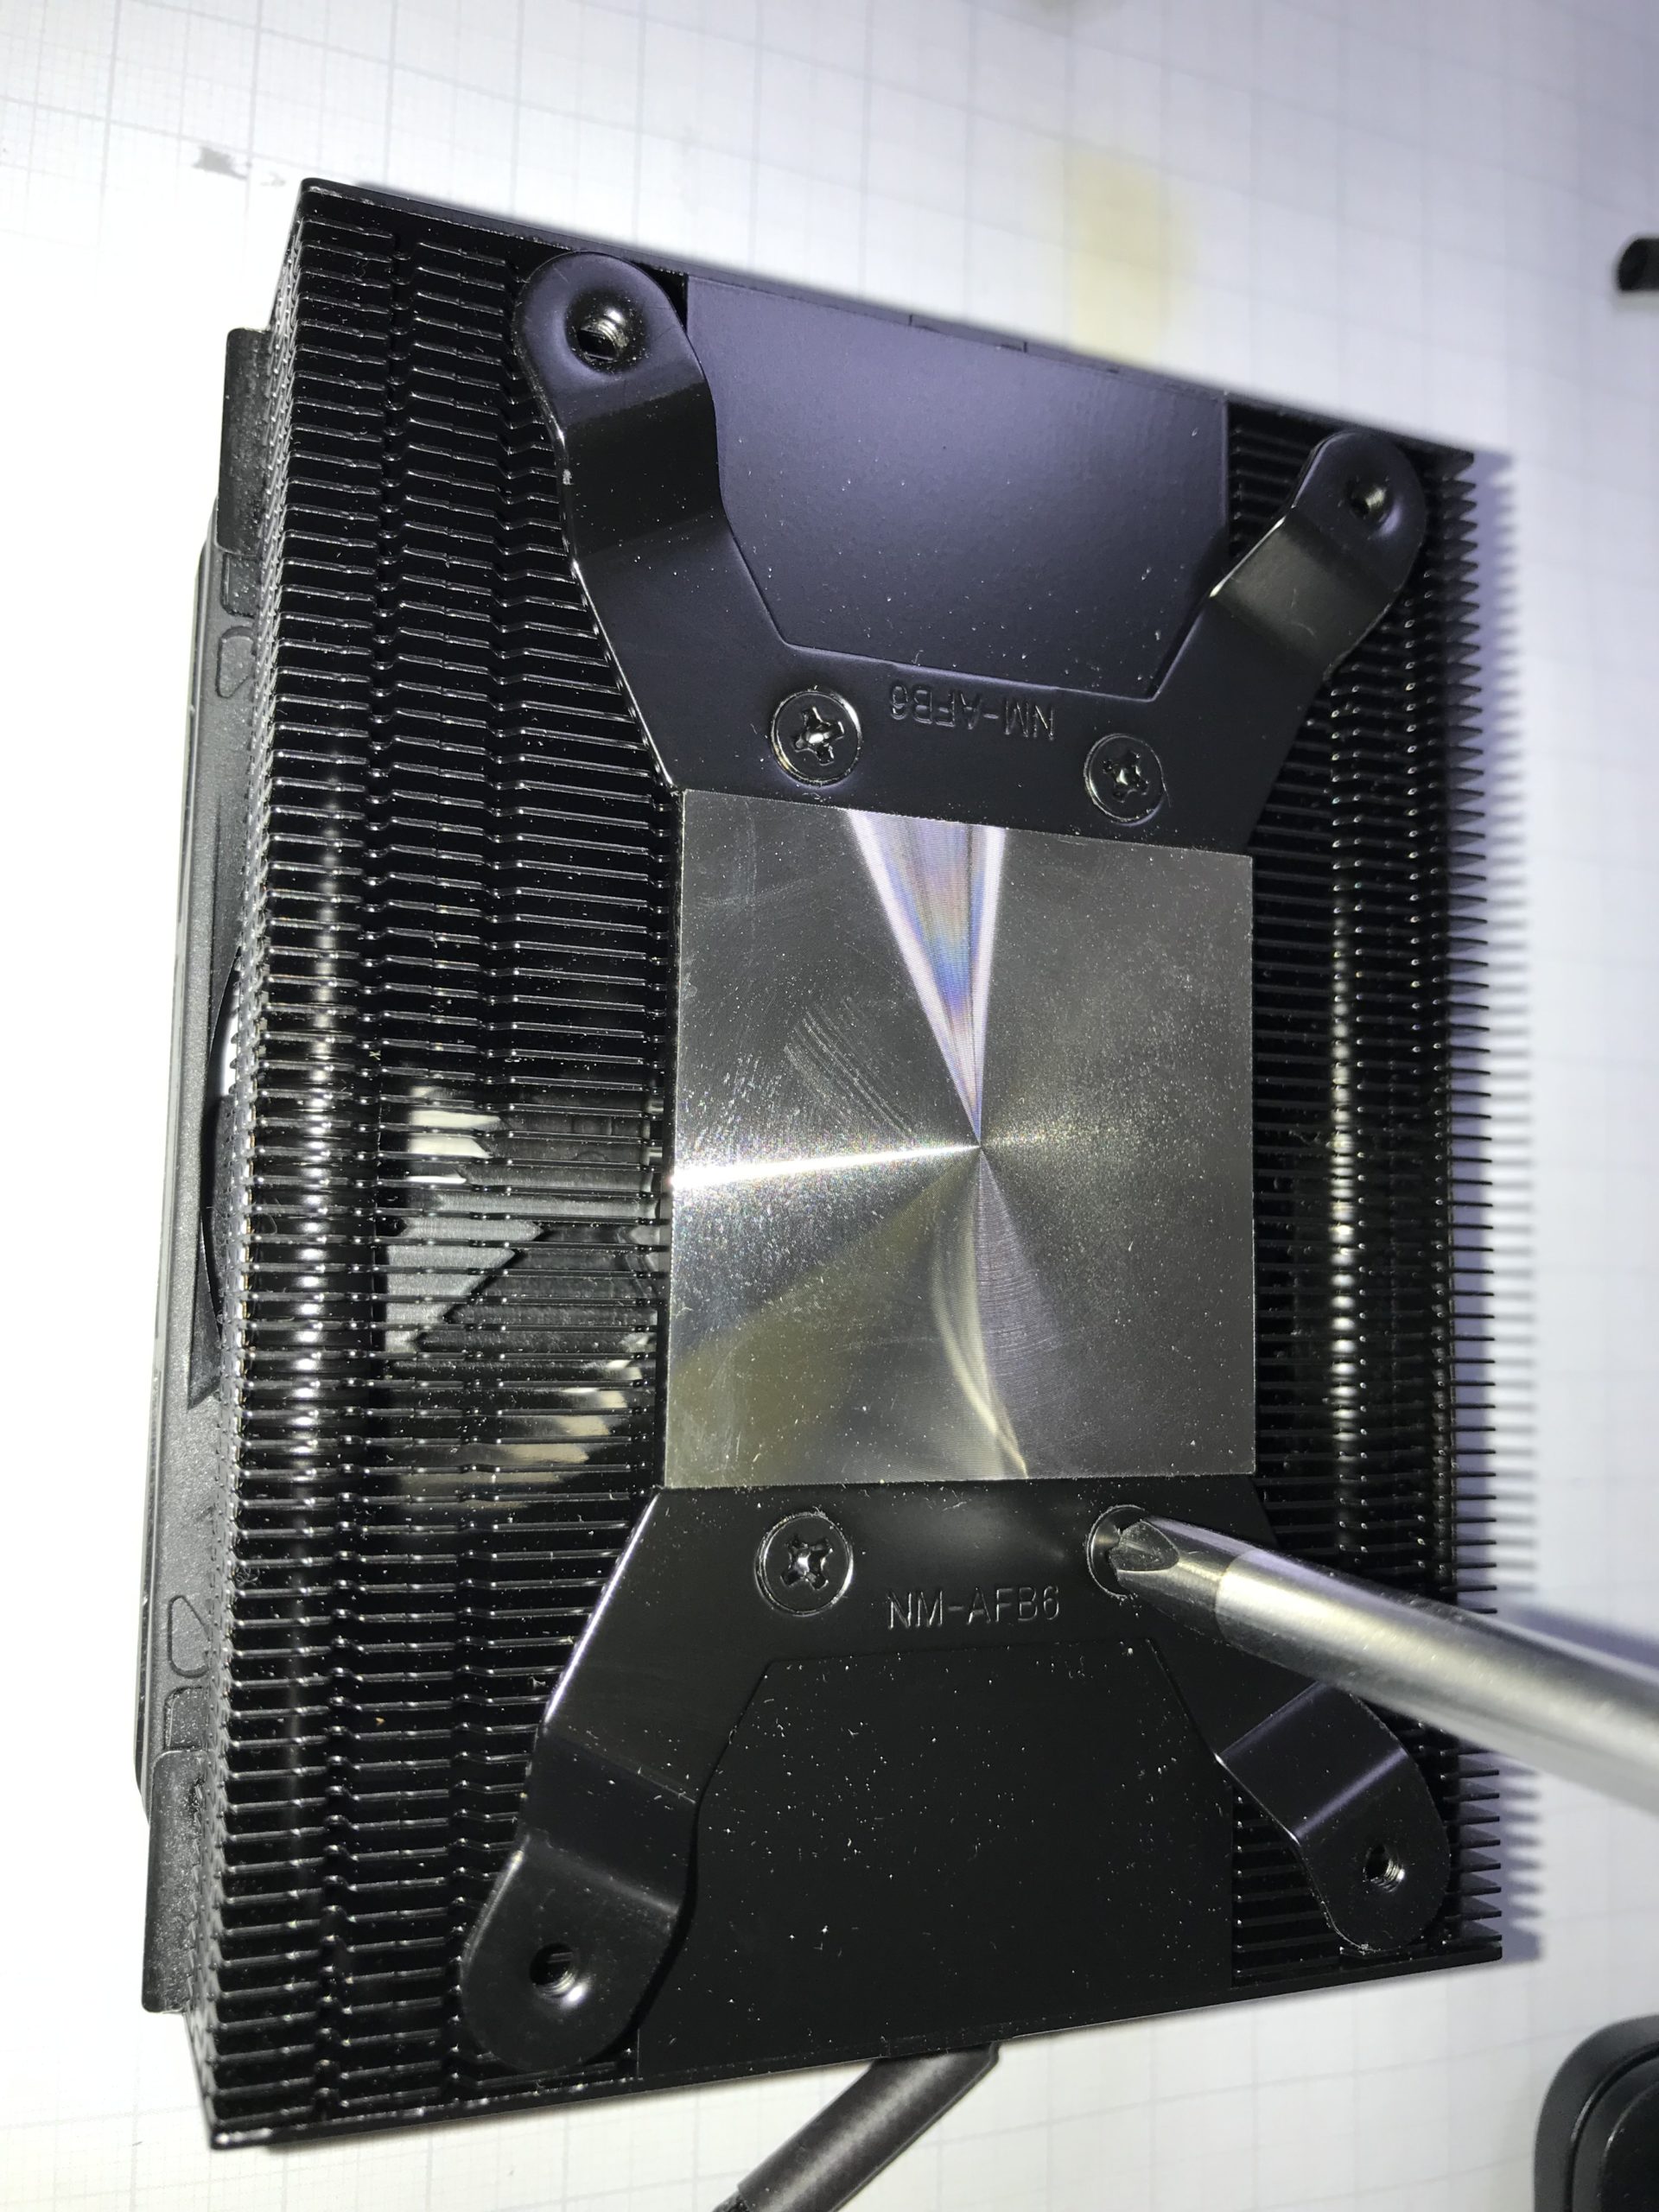
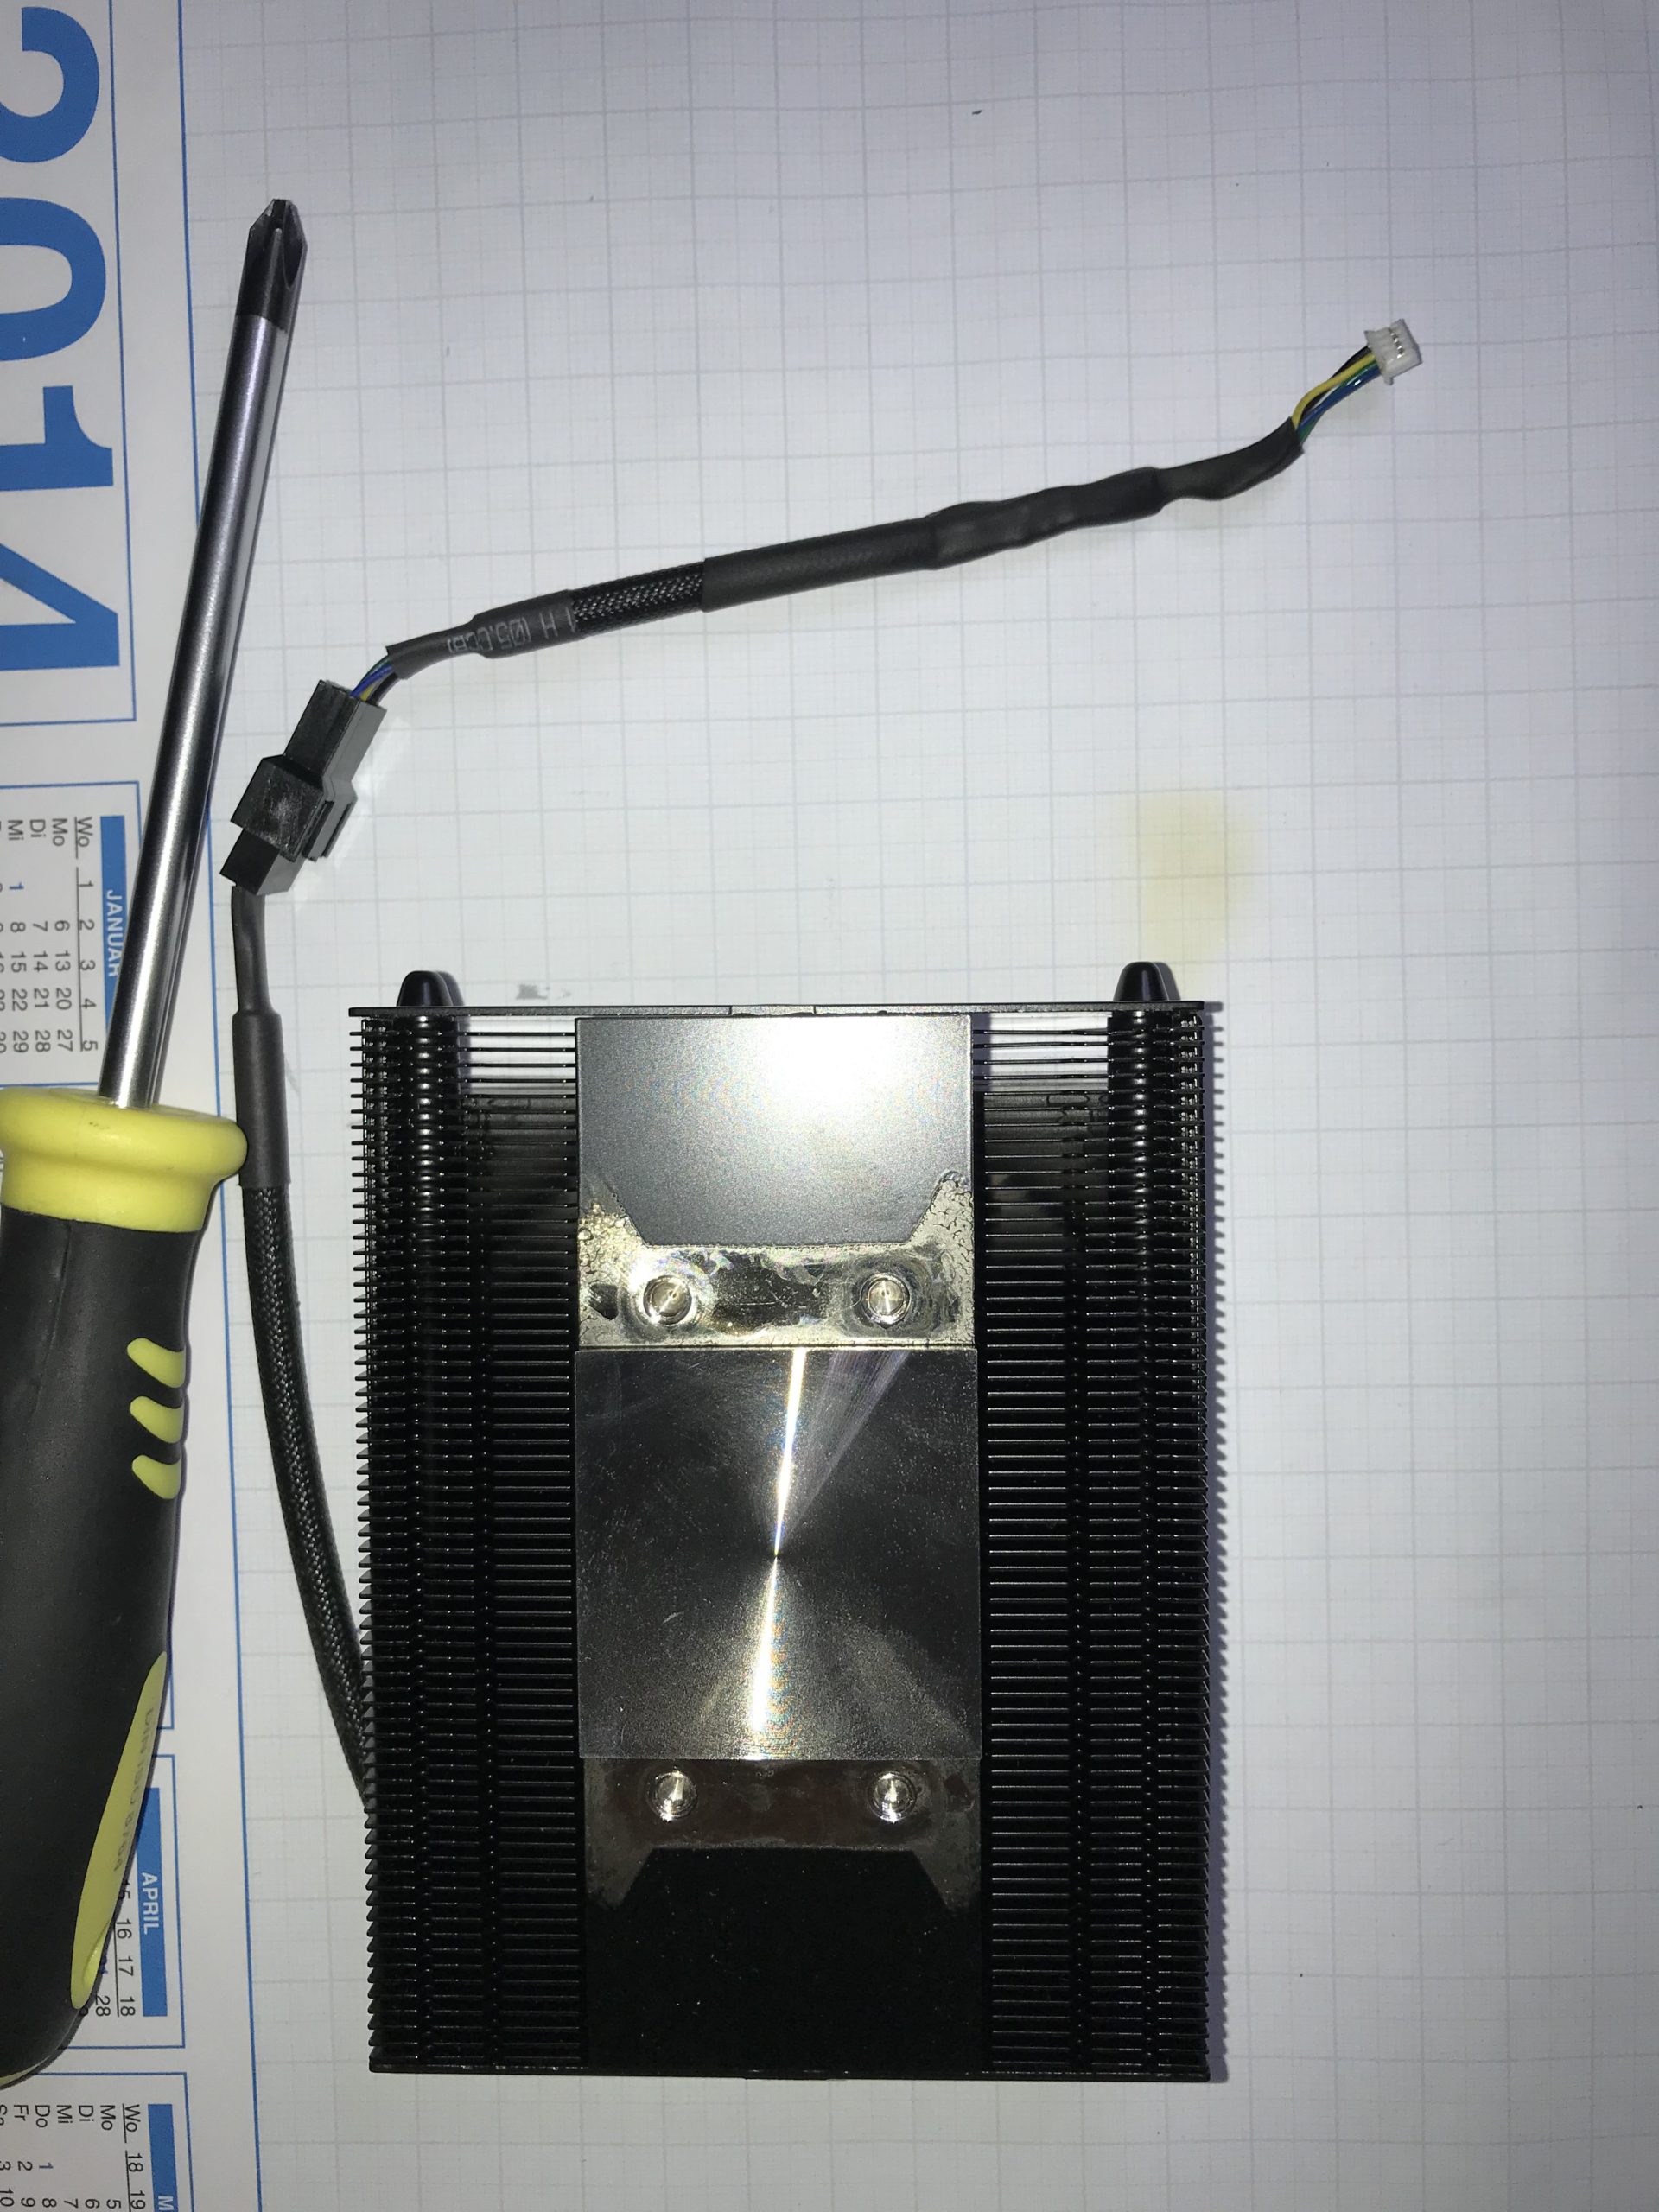
The screwed-on brackets must be removed from the Nocua cooler, they are no longer needed.
Then the thermal adhesive is applied, the cooler is put on and the connection cable is connected. The cable should first be left hanging loosely and not directly installed in the case, as it can move the cooler as long as the adhesive is not yet dry.
The cooler should be pressed lightly, so that the glue can spread well, weights e.g. with a book for about 1 hour can also be helpful here.
That’s it…done!
Note !!!
Who does not want to cut the socket from the original fan or like me broke one, should search for „Molex PicoBlade socket 4 pin with cable“. Since the colors can differ with such preassembled sockets with cables. I list the pinout in the table below.
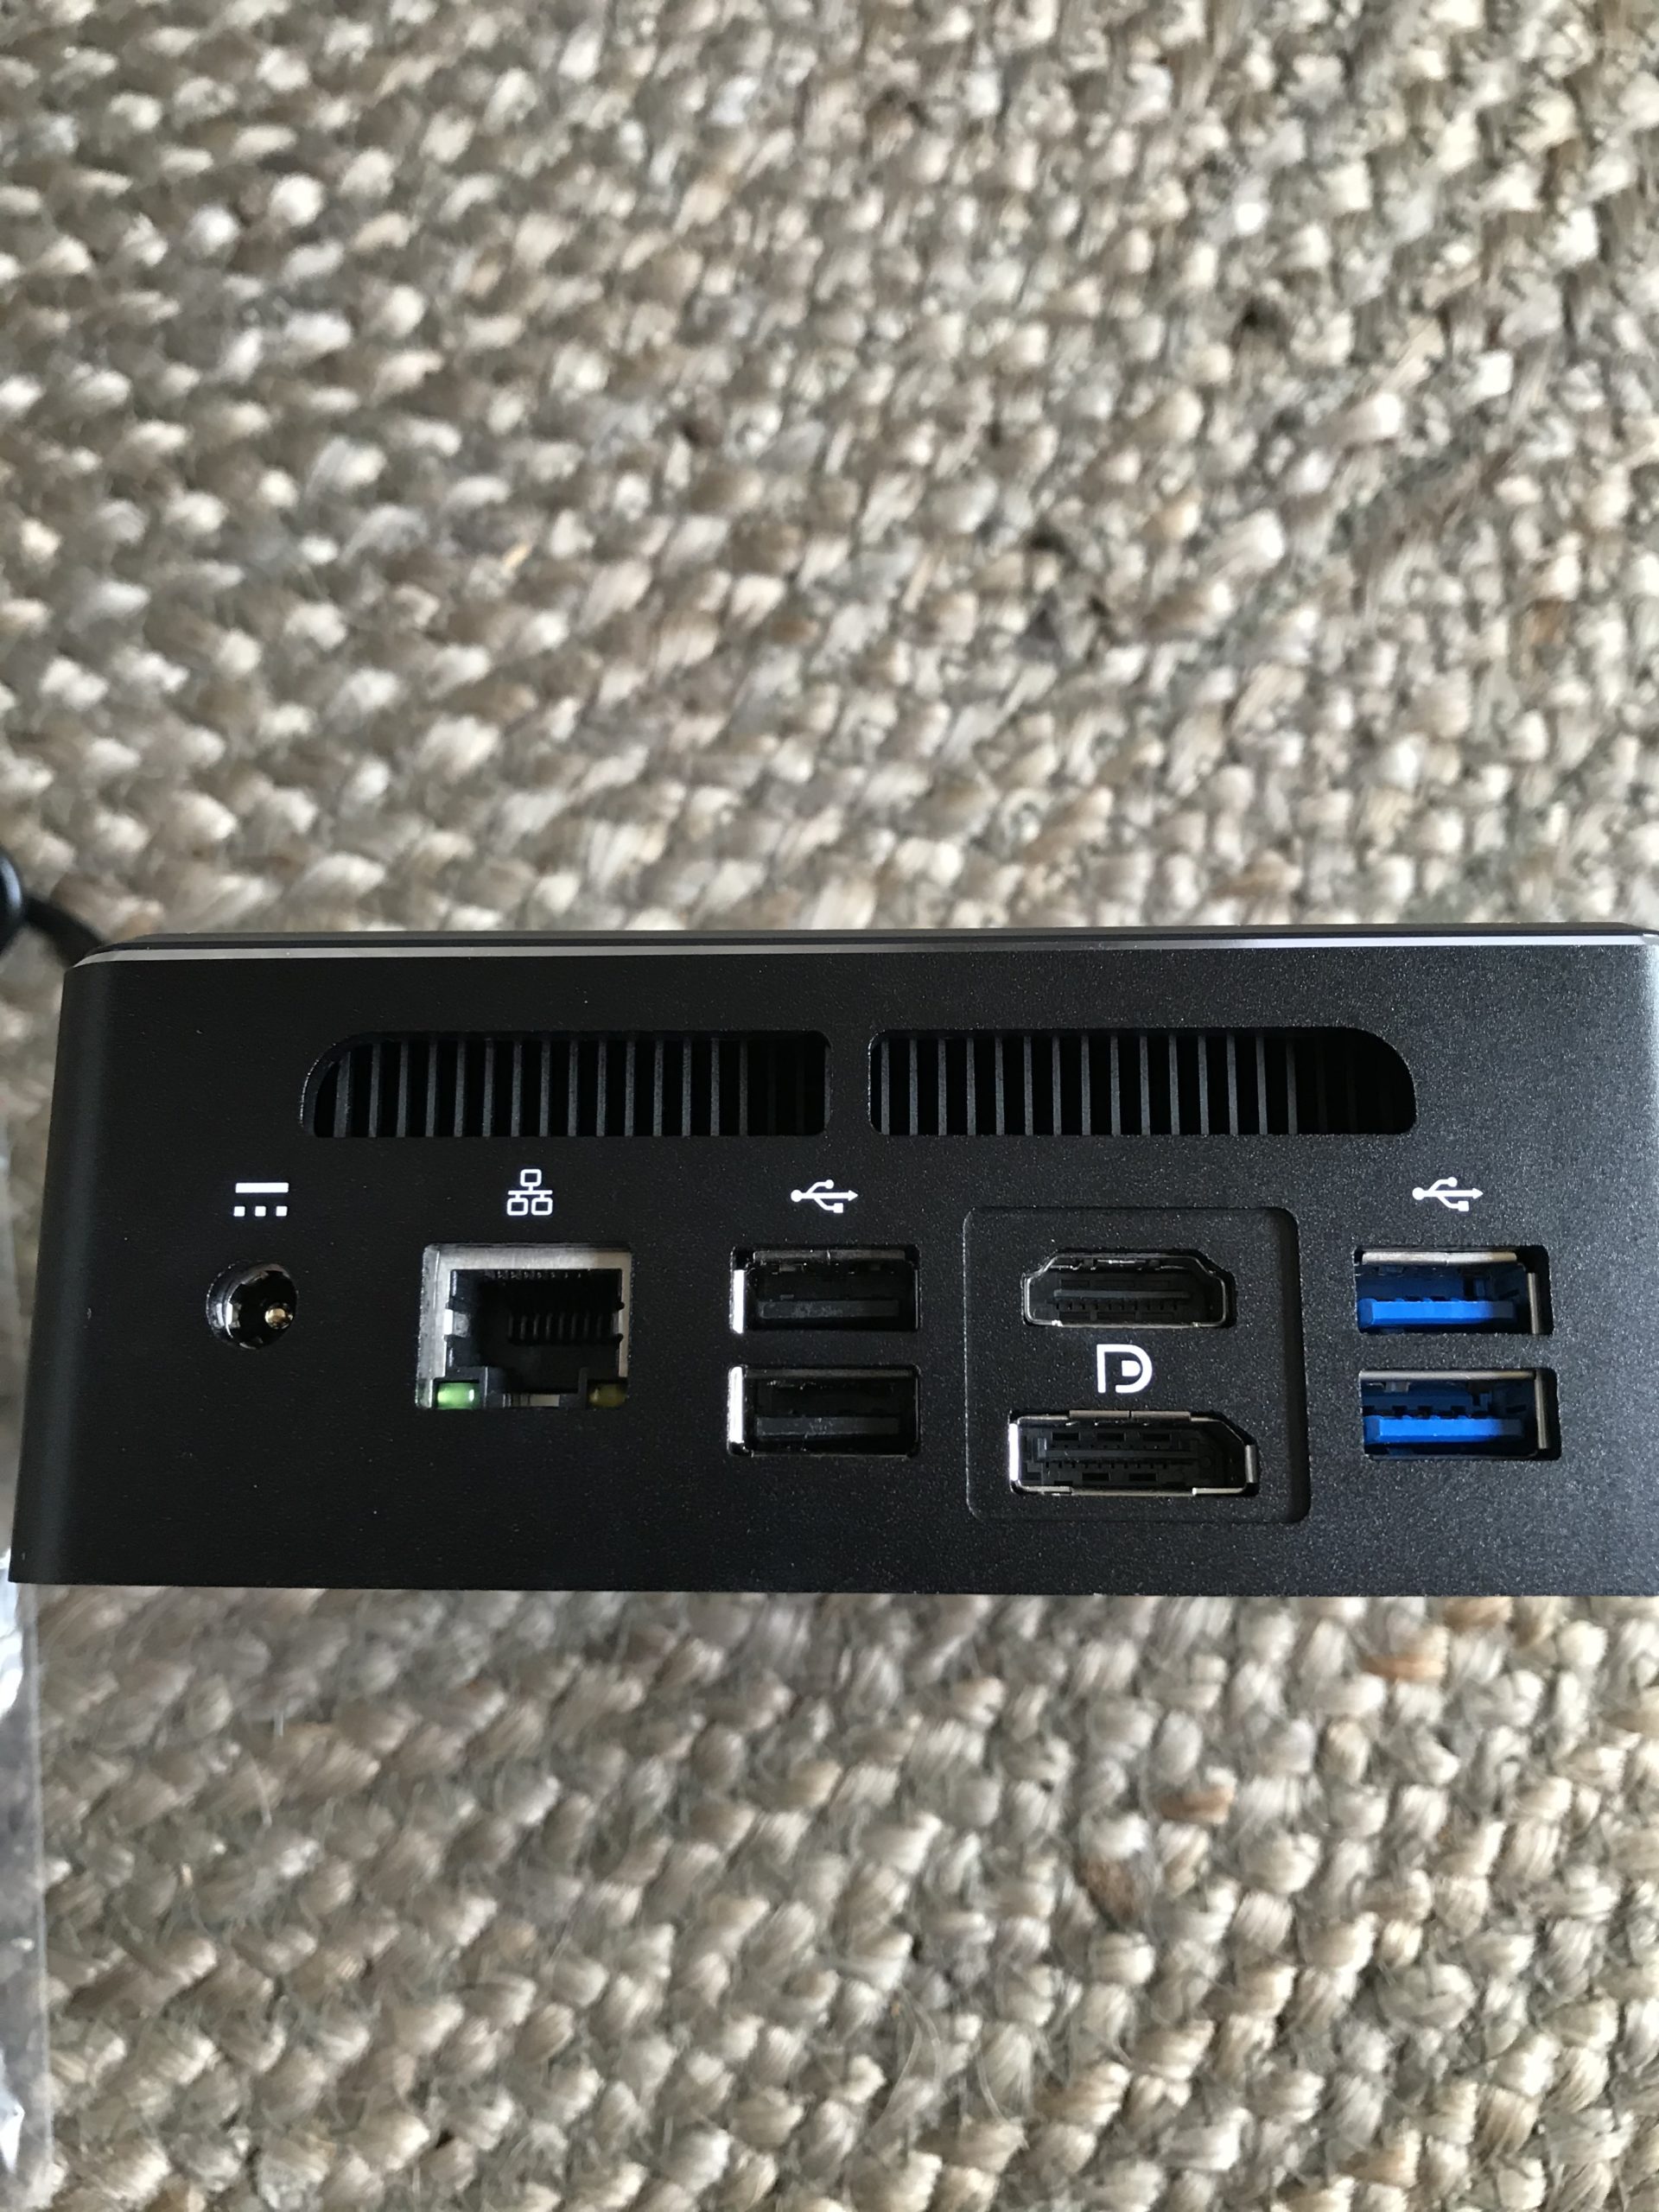
Pin 1 is located on the far right of the mainboard connector as seen from the inside of the mainboard. To the right of pin 1 is the case wall after about 2 cm.
| Noctua cabel | Pin on Mainboard | Function |
|---|---|---|
| black | ………………1 | ground (GND) |
| yellow | ………………2 | +12 Volt |
| green | ………………3 | RPM Speed Signal |
| blue | ………………4 | PWM Signal (+5 Volt) |

Test:
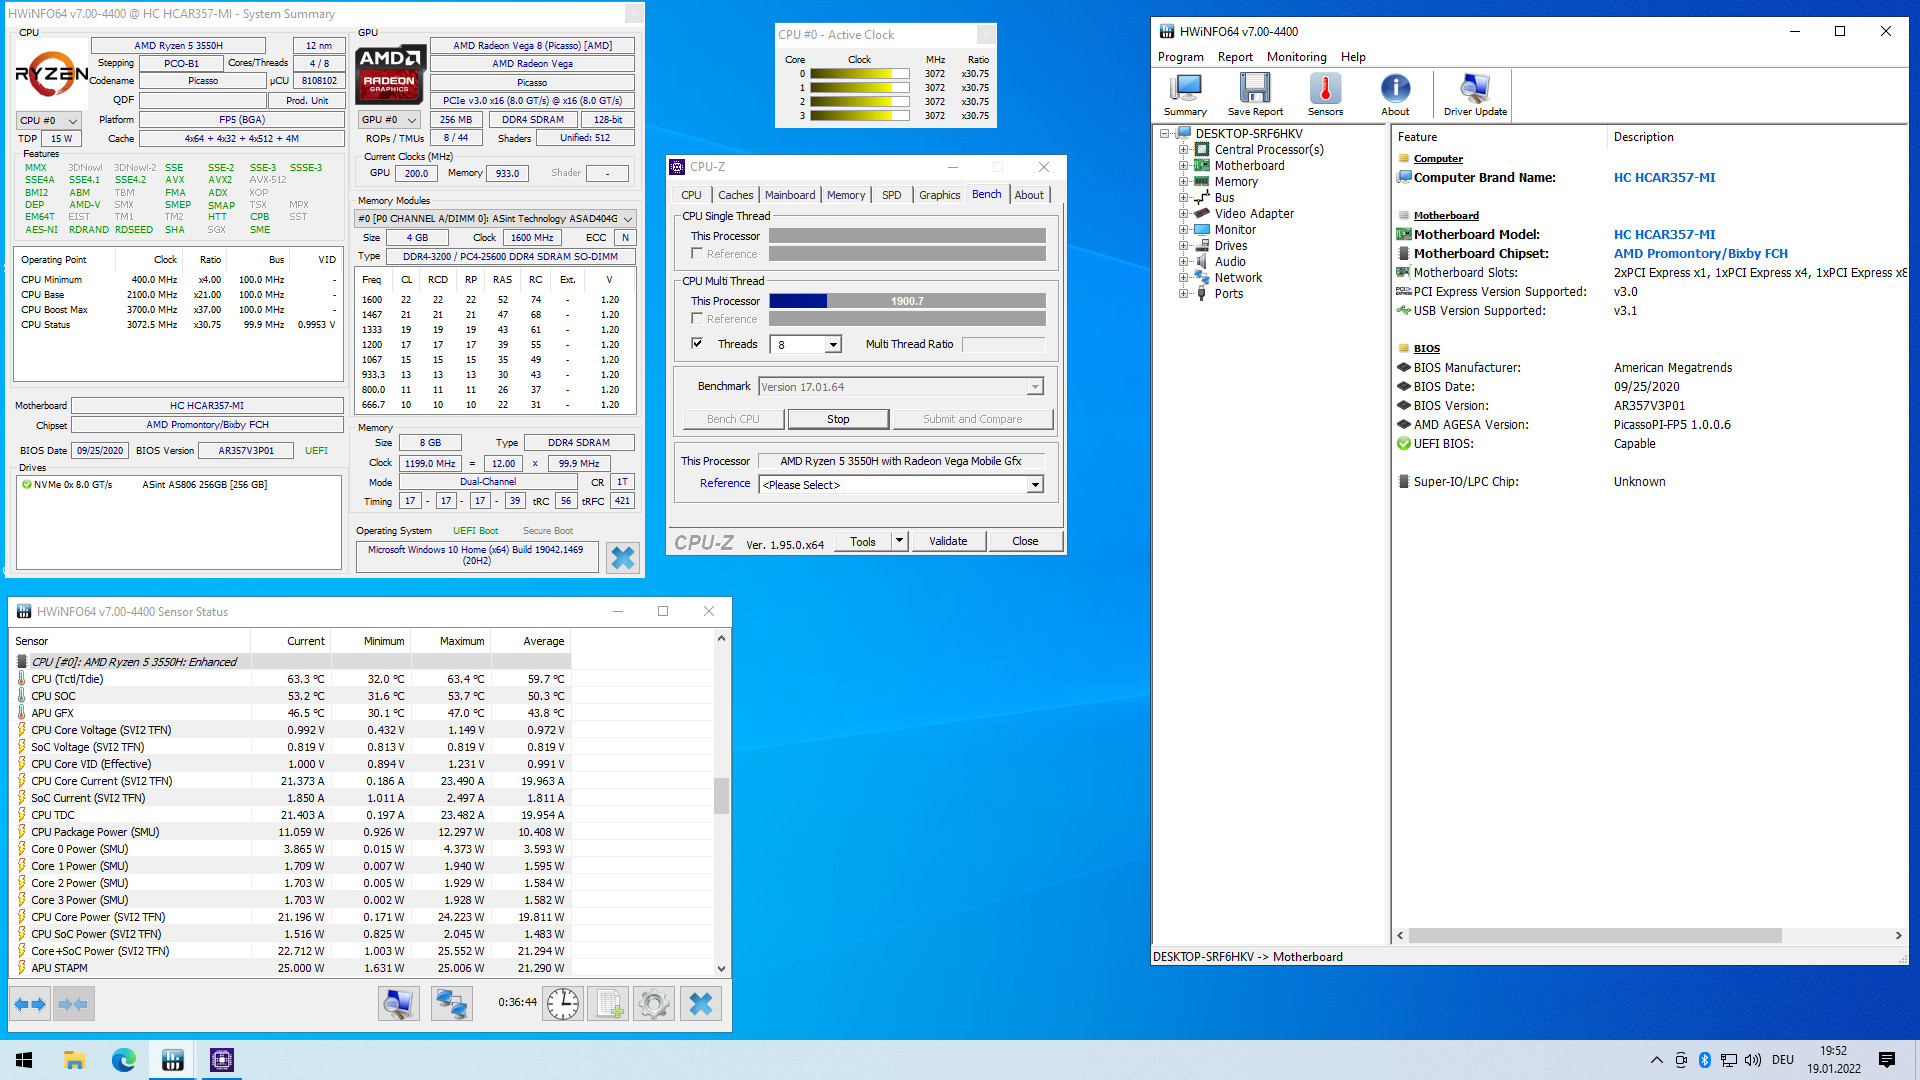
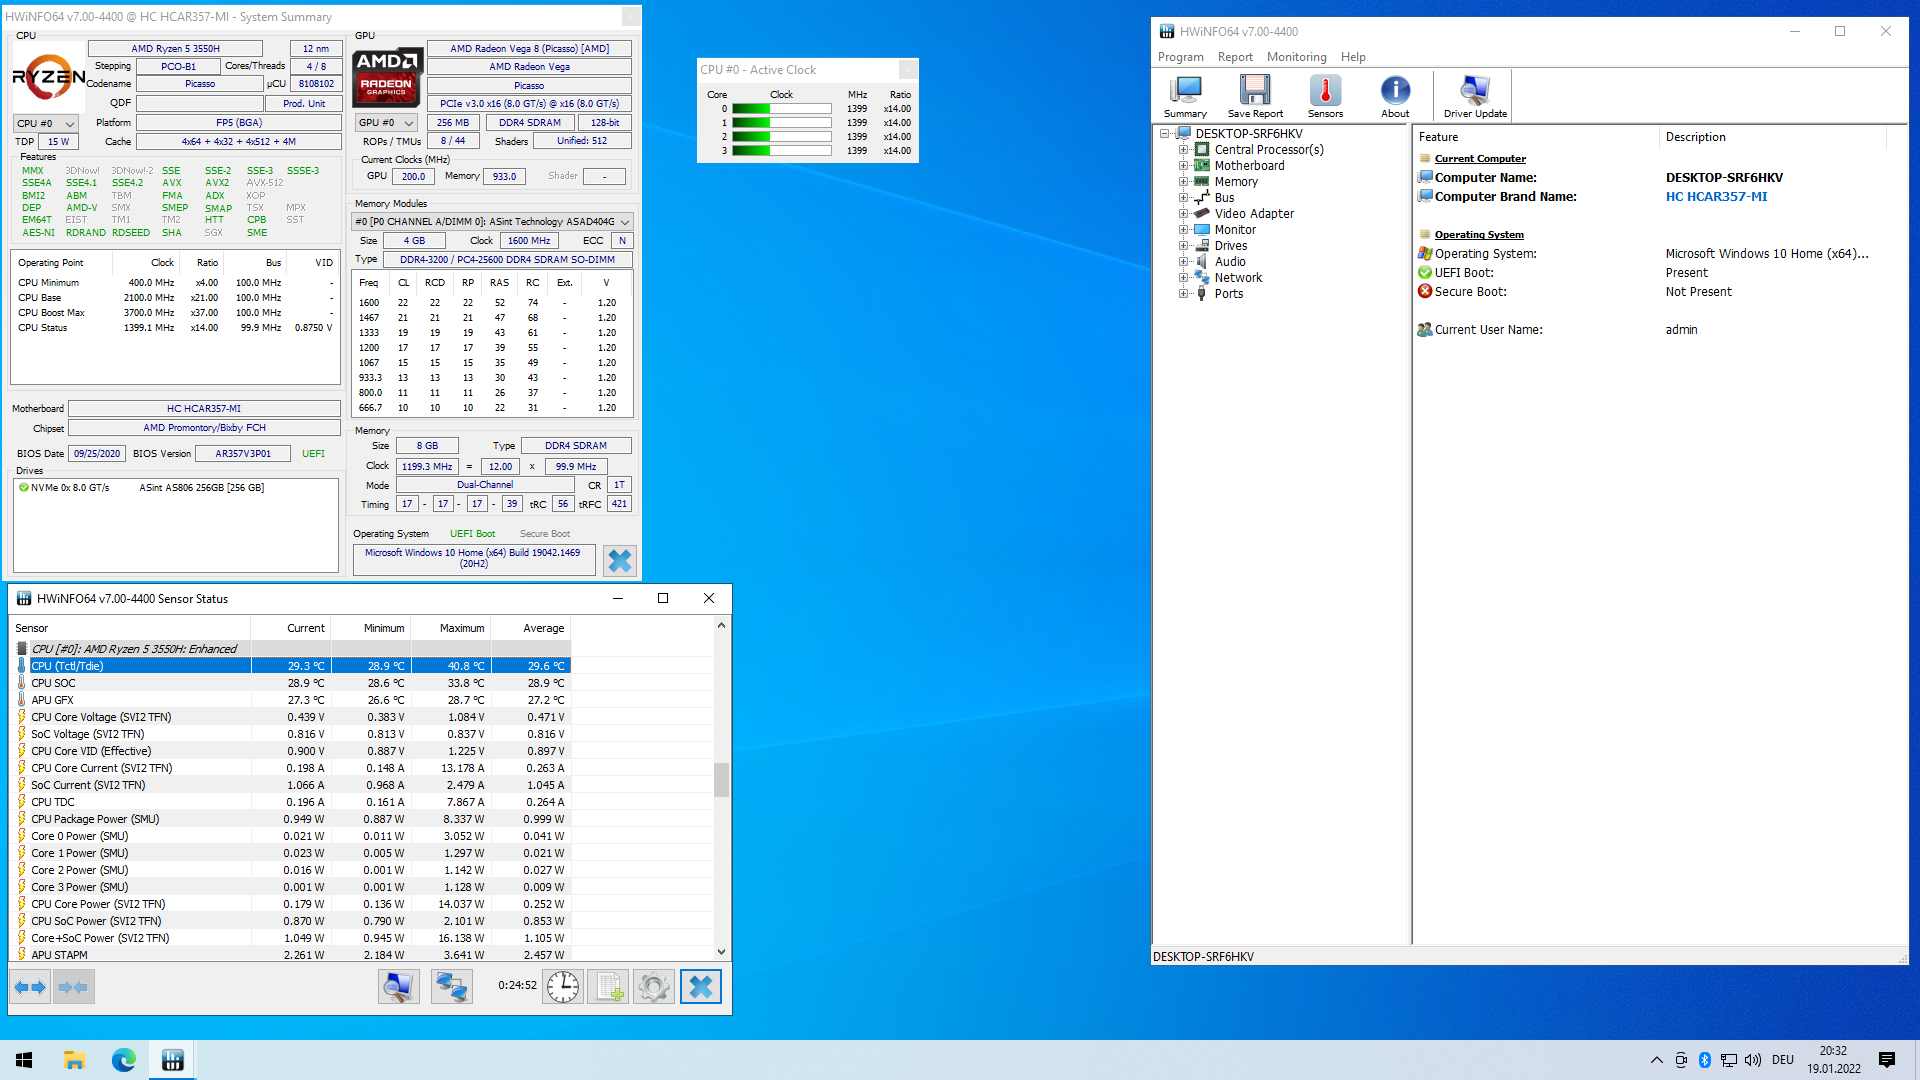
Now, let’s test if everything works as desired and to dry the glue through. We turn on the computer and let it run for a few hours without putting much load on it (idle). If the temperatures do not correspond to what I measured (picture), then probably too much/too little thermal paste was used on the cooling plate or directly too much/too little thermal adhesive. I have been anything but meticulous with it. Whether 1 mg more or less was applied is usually not really reflected, unless one exaggerates excessively
Translated with www.DeepL.com/Translator (free version)
Temperatures:
It was measured at 20 degrees Celsius room temperature. During a CPU stress test, I didn’t get the CPU above 63.3 degrees (duration 1 hour), while the temperature fluctuated from 28.9 to 40.8 degrees Celsius at idle. I think the result is respectable and the MiniPC is now also equipped for areas where the ambient temperature can also be higher.
Noise:
Even under maximum load, the computer is almost inaudible even when you hold your ear directly to the cooler.
Realized by readers


Thank you very much Ronald for the pictures, I am very happy about your feedback.
Pingback: Howto:MiniPC passiv cooling T-Bao MN35,Chatreey,TOPTON and derivatives